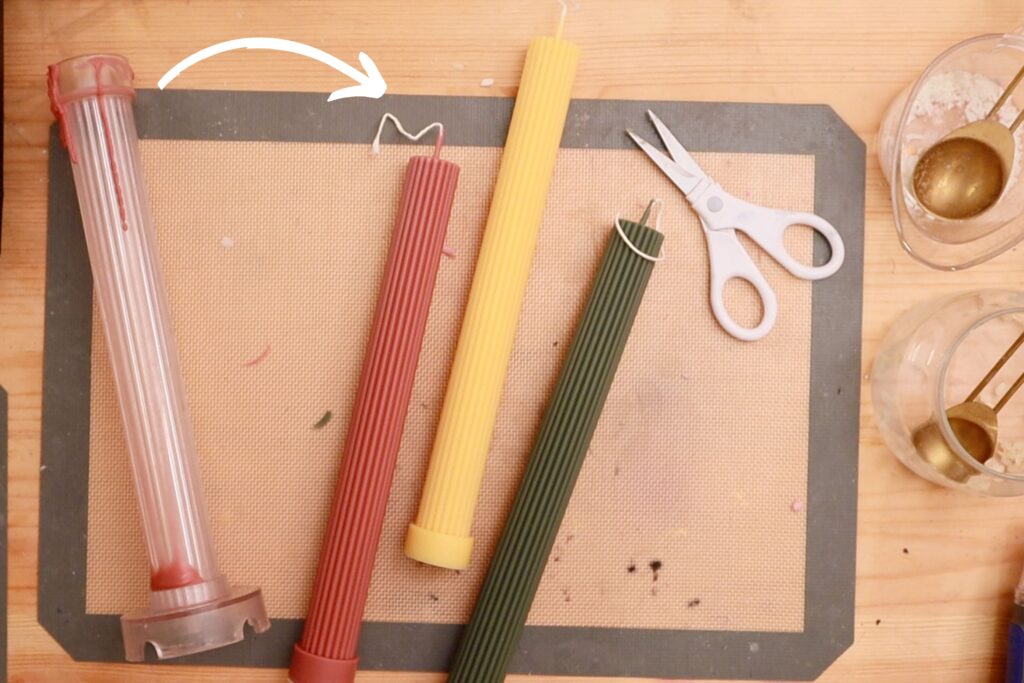
You don’t need to be a pro to make pillar candles. They’re easier to de-mold than tapers because they’re less likely to snap or get stuck. If you’re a beginner who wants to make molded candles, I’d recommend starting with pillars and then graduating to tapers after you get the hang of it. I’m going to walk you through how to make a pillar candle today. This guide covers everything you need to know from the best type of wax to use to all of the steps you need to follow to de-mold a perfect pillar. If you already have a mold picked out and all of your supplies on hand, you can skip to the candle making steps here.


Pillar Candle Molds
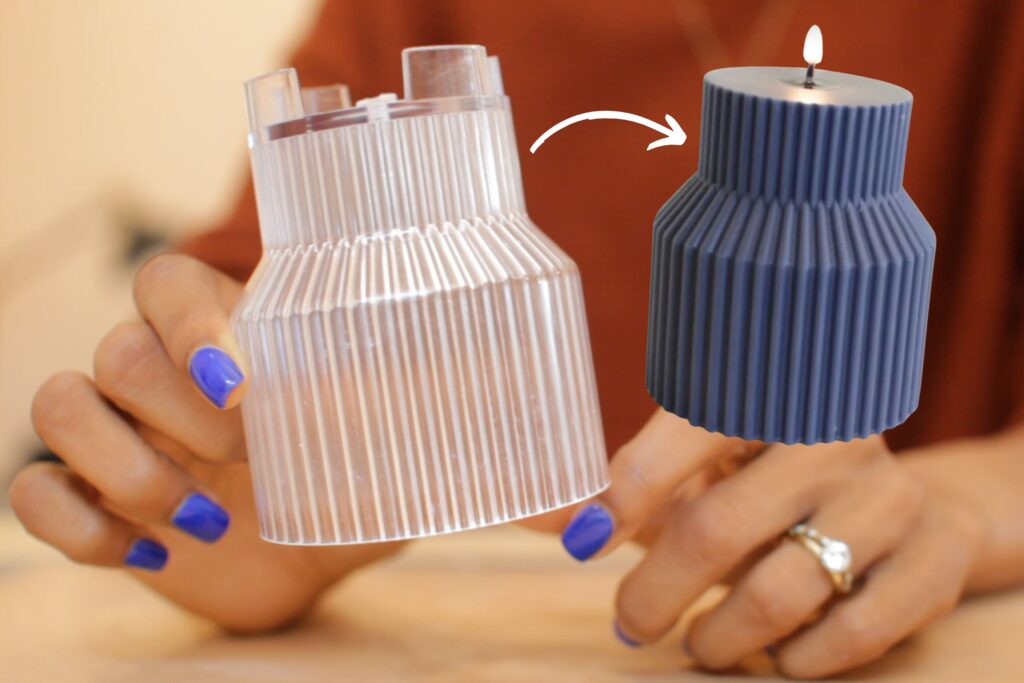
Before you get started, you’ll need to choose a pillar candle mold. Most molds are either made out of a soft silicone material or a hard acrylic material. There are also metal candle molds, but I’m not a huge fan of those so I’m not going to include them in this guide.
Silicone Molds versus Acrylic Molds
I would recommend starting with a silicone mold. I think they’re easier to use than acrylic because they’re flexible so it’s less likely that your candle will get stuck. Plus, silicone requires less preparation. With acrylic, there are a few extra steps that I always take: (1) spraying the inside of the mold with mold release spray, (2) plugging the hole in the bottom of the mold with putty to prevent the wax from leaking out, and (3) pre-heating the mold before pouring the wax. You can skip all three of these steps if you are using a silicone mold.


Today I’m demonstrating how to make pillar candles with a silicone mold. If you want to learn how to make a pillar candle using an acrylic mold, you can still follow along but you should also check out my guide to acrylic mold candle making.
How Much Wax to Use In a Candle Mold
Here’s an easy trick to help you figure out exactly how much wax to use in any candle mold:
- Turn on a digital scale and place the mold on top, then tare the scale. Taring the scale just means setting the value to 0 so that when you add water in the next step, you’re only measuring the weight of the water by itself, not the water and the mold.
- Fill the mold with water.
- Multiply the water weight times 0.86 to get the wax weight.
Wax is about 86% of water’s weight so the formula for converting water weight to wax weight is: Water Weight x 0.86 = Wax Weight. The mold I’m using today holds 10.0 ounces of water so I will need to use 8.6 ounces of wax to fill the mold completely.


Best Type of Wax For a Pillar Mold
For molded candles, you should use one of the harder wax types: paraffin wax, beeswax, or a pillar wax blend. You can also create your own blend like I’m doing today. I used 50% paraffin wax and 50% soy wax.
While you can technically use any wax type, I do not recommend using softer wax types like soy or coconut for molded candles (unless you add a harder wax). The de-molding process can be a bit rough and soy wax is not very durable. A 100% soy wax candle is more likely to break, chip, or become deformed while you’re pulling it out of the mold.
An extra ingredient that you can add to the wax to improve your candle is stearic acid. It’s optional, but I recommend it because it helps to harden the wax and improve the color. I usually add about 10% of the total weight (including all ingredients, wax and stearic acid).
So here is the pillar candle recipe I’m using today:
- 4.3 ounces of paraffin wax
- 4.3 ounces of soy wax
- 1 ounce of stearic acid (which comes out to 10% of the total 9.6 ounce weight)
- 4 drops of yellow candle dye


Everything You Need to Make a Pillar Candle
To make this candle, you will need:
Tools
- Candle Mold to shape the candle. These are the silicone molds I used in this guide. It’s a set of 4 fluted pillar molds in different sizes.
- Wick Bar to center the wick.
- Scissors to trim the wick.
- Toothpick or Needle to pierce the center of the mold. I use a single-sided toothpick so that I can push it through without stabbing my own finger but you can honestly use any sharp item to create the hole for the candle wick.
- Wax Melter or Double Boiler to melt the wax. If you want to use the double boiler method, here’s how to set it up.
- Thermometer to monitor wax temperature.
Ingredients
- Candle Wax: I recommend using a pillar wax blend or a paraffin/soy wax blend. I created my own blend (50% of this paraffin wax + 50% of this soy wax).
- Wick: The wick sizes will depend on the diameter of the candle. I recommend keeping a range of wick sizes on hand for different molds. I used a size #1/0 wick for the yellow pillar candle (which is about 2.25 inches in diameter).
Optional Items
- Fragrance Oil to scent the candle.
- Candle Dye to add color. I use Liquid Dye for intense/vibrant colors or Wax Dye Chips for lighter/pastel colors.
- Stearic Acid to improve the opacity of the candle and to harden the candle.
- Heat Gun to smooth out the bottom of the candle.


How to Make a Pillar Candle
Okay, let’s get to the fun part!
Wick the Candle Mold
- Cut a candle wick that is slightly longer than the length of the candle mold.
- If this is your first time using the candle mold, use a toothpick or a needle to pierce a hole in the center of the base.
- Thread the candle wick through the hole and pull it through the mold.
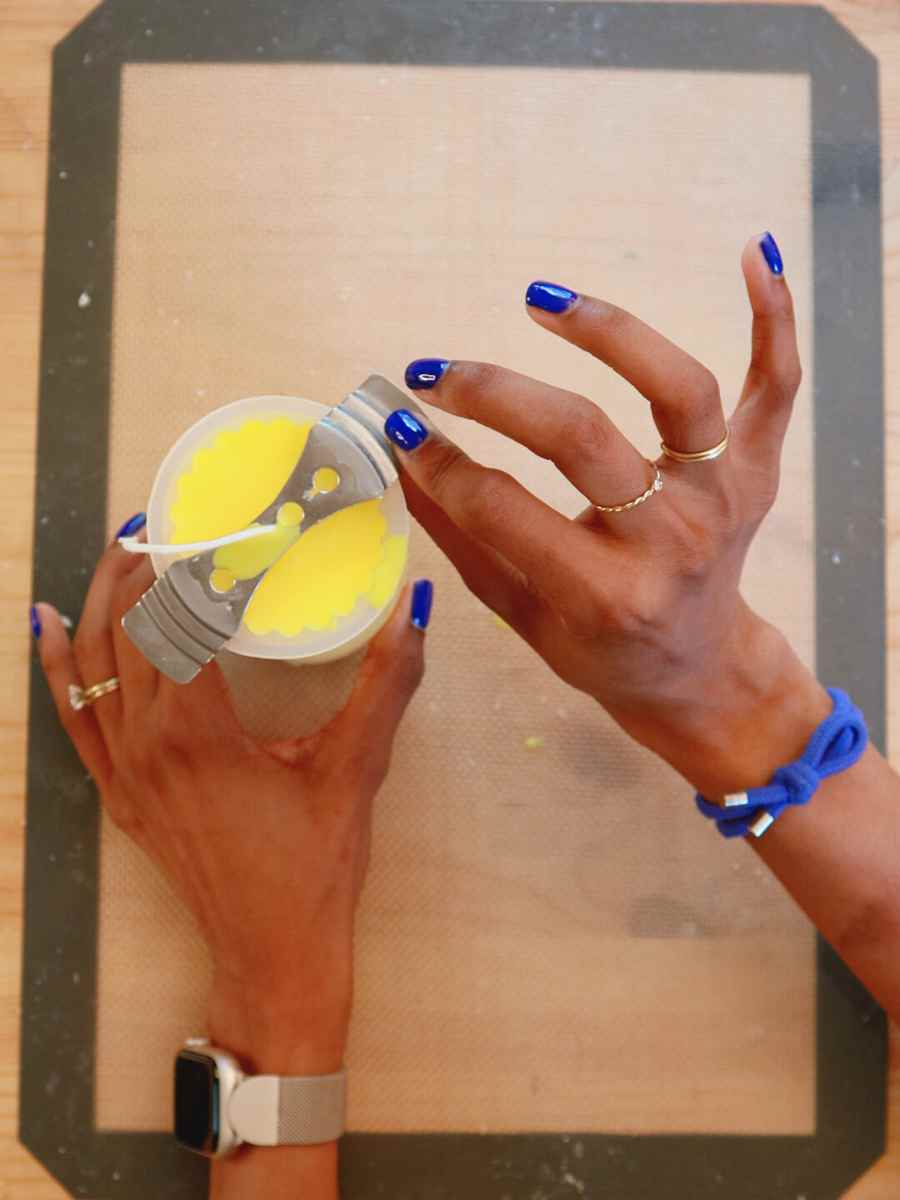
- Flip the candle mold over so that the opening faces up and then center the wick with a wick bar.
I’m using: a size #1/0 wick for this candle mold (which is about 2.25 inches in diameter).


NOTE: Since the base of the candle mold has a wick protruding from it, it won’t lay flat against the table. You’ll have to prop it up on something so that the wick can hang down. I’m using a roll of tape here (see below), but when I make a larger batch of candles, I prop them up on a baking rack.


Measure the Ingredients
- Determine how much wax to use with the water to wax conversion trick.
- Measure out the correct amount of wax and any candle additives like stearic acid.
- Add to a melting pitcher or a wax melter.
I’m using: 4.3 ounces of paraffin wax + 4.3 ounces of soy wax + 1 ounce of stearic acid.
Melt the Ingredients
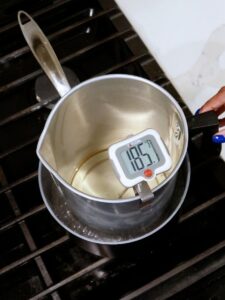
There’s more than one way to melt candle wax. I’m using a double boiler today. If you want an alternative method, check out How to Melt Candle Wax – 3 Ways. Use your preferred melting method to bring the candle wax up to 185 degrees Fahrenheit.


Add Candle Dye and/or Fragrance Oil
If you want to add scent or color, do it after the melted wax reaches 185 degrees Fahrenheit. Stir thoroughly but slowly so that you don’t introduce any air bubbles.
It’s hard to see the true color of candle wax while it’s in a melting pitcher so I like to drip some of the wax onto a white piece of paper, wait until it hardens, and then assess the color. If I don’t like the results of this test, I’ll add more dye. This tip has saved me from accidentally making candles in the wrong color!
I added 4 drops of yellow dye and the wax looked orange inside of the pitcher. After I dripped a bit of wax onto a white index card, I could see that it was actually a vibrant yellow color. My daughter is really into bumblebees right now so I’m adding yellow accents to her nursery and this color is perfect.


Pour the Wax into the Candle Mold
After you’re done adding dye/fragrance oil, remove the melted wax from its heat source and let it cool down to its *optimal pouring temperature. I poured at 155 degrees Fahrenheit.
Before you fill the whole mold, I’d recommend pouring a little bit of wax into the bottom, pausing for about a minute to let this wax solidify just a little bit, and then continuing to pour the rest of the melted wax. This will help you plug the bottom of the mold to prevent leaks through the hole you created for the wick earlier. Then you can slowly pour the rest of the melted wax into the center of the candle mold until it is full.
*Optimal Pouring Temperature: If you are using a different wax type, your optimal pouring temperature is probably not be the same as mine. I wish I could tell you the exact right temperature for your wax type, but it is going to require some trial and error (as candle making always does). Start with the manufacturer recommendations for pouring temperature and adjust up or down after you see how your first candle comes out.
I poured my first pillar at 165 and got a slight dip in the bottom of my candle. At 145, I got white lines around the edges of my candle. At 155, I got a perfect pillar. Candle making is a constant Goldilocks problem. Too hot? Sinkhole. Too cool? Jump lines. The only way to know for sure is to test! If you want to know more about candle making temperatures, you should check out 5 Candle Making Temperature Tips You Need to Know.


De-Mold the Candle
I like to wait at least 6 hours before I de-mold a candle. Usually, I’ll leave it overnight.
- After the wax has cured, remove the wick bar.
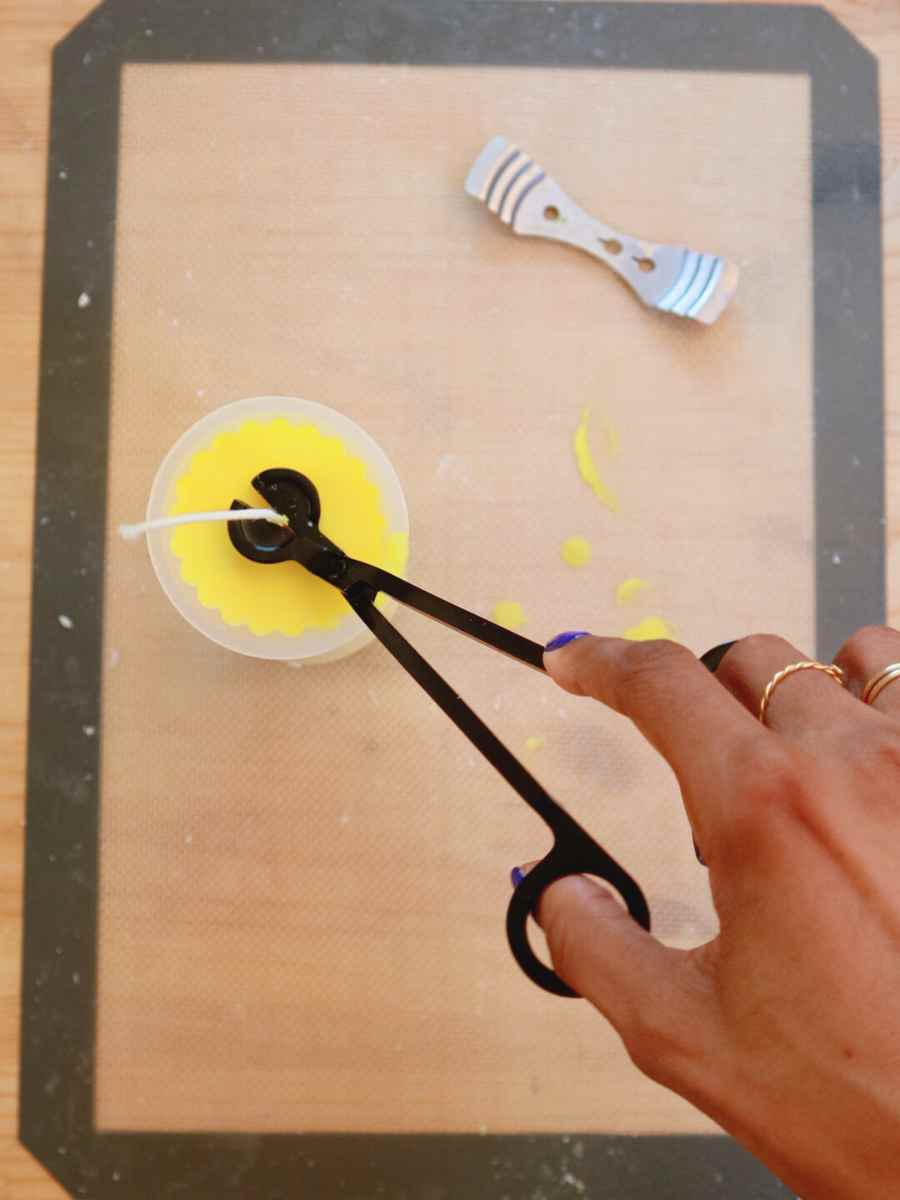
- Trim the wick so that it is flush with the bottom of the candle.
- If the bottom of the candle is uneven, use a heat gun to re-melt the wax until it is level. If you have to re-melt, wait a few hours before moving on to the next step.
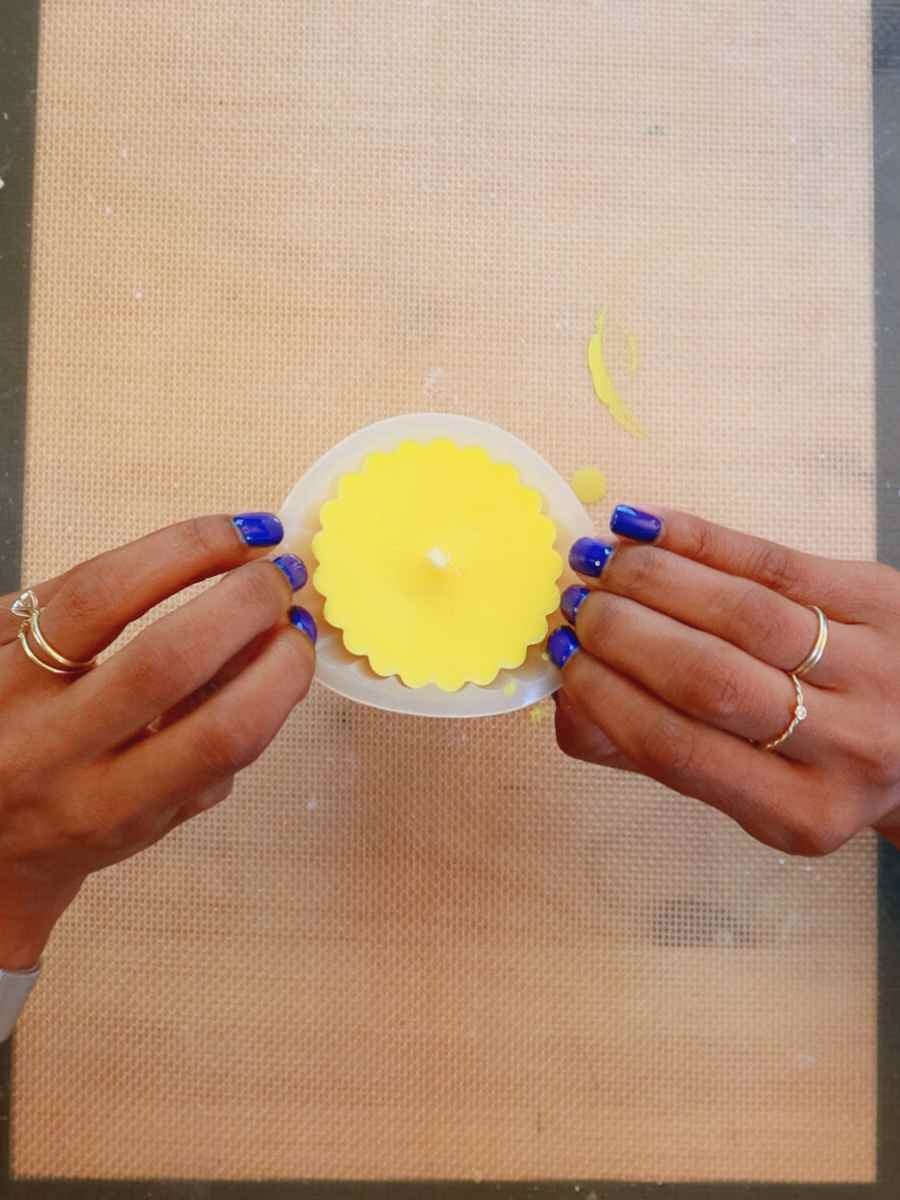
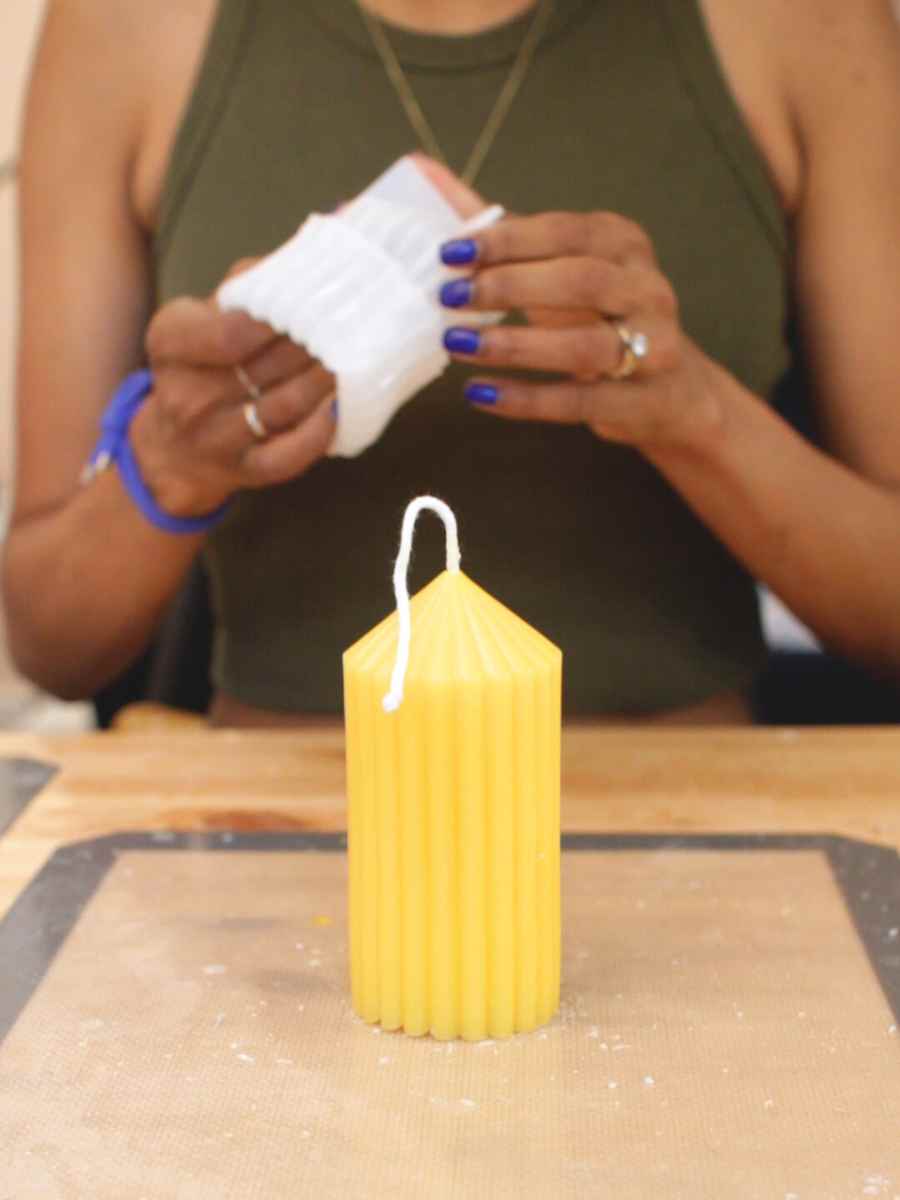
- To de-mold the candle: first, pull the sides of the mold away from the edges of the wax, then flip the mold inside out to free the candle. You’ll have to roll the edges up until the entire candle is free.
- Trim the wick and enjoy!


More Candle Making Resources
If you want to make a pillar candle with an acrylic mold, check out my guide to acrylic mold candle making. If you want more information on how to make candles with silicone molds, check out my guide to silicone mold candle making.