Here is a list of everything you need to start making candles today – every single ingredient, tool, and gadget! If you don’t want to hunt all of these items down individually, scroll to the end for links to candle kits that you can purchase online at three different price points or check out my post on which candle supply companies to order from. Whether you want to start a candle company or just create for fun, here is everything you need to start making candles in 2024:
Tools for Candle Making
1. Wax Melter or Double Boiler: To melt the wax, you can either set up a double boiler or use a dedicated wax melter. Wax melters come in various sizes (a 10L wax melter will cost you around $100). Look for a size that makes sense based on how many candles you intend to make (5L would be good for a hobby candlemaker; 10L or up for anyone who wants to make bigger batches).
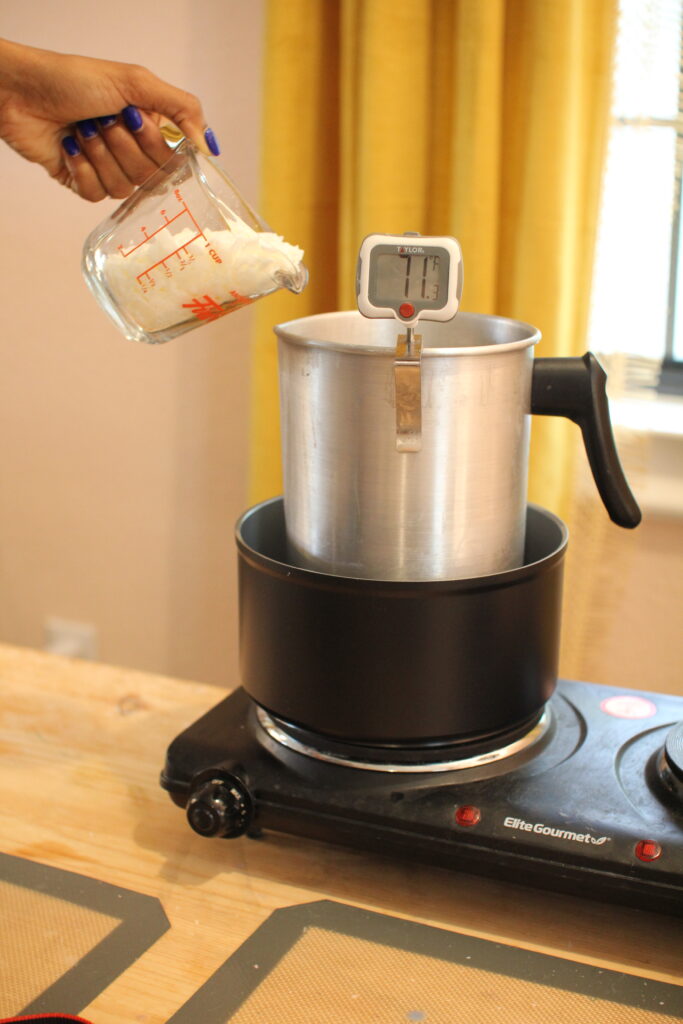
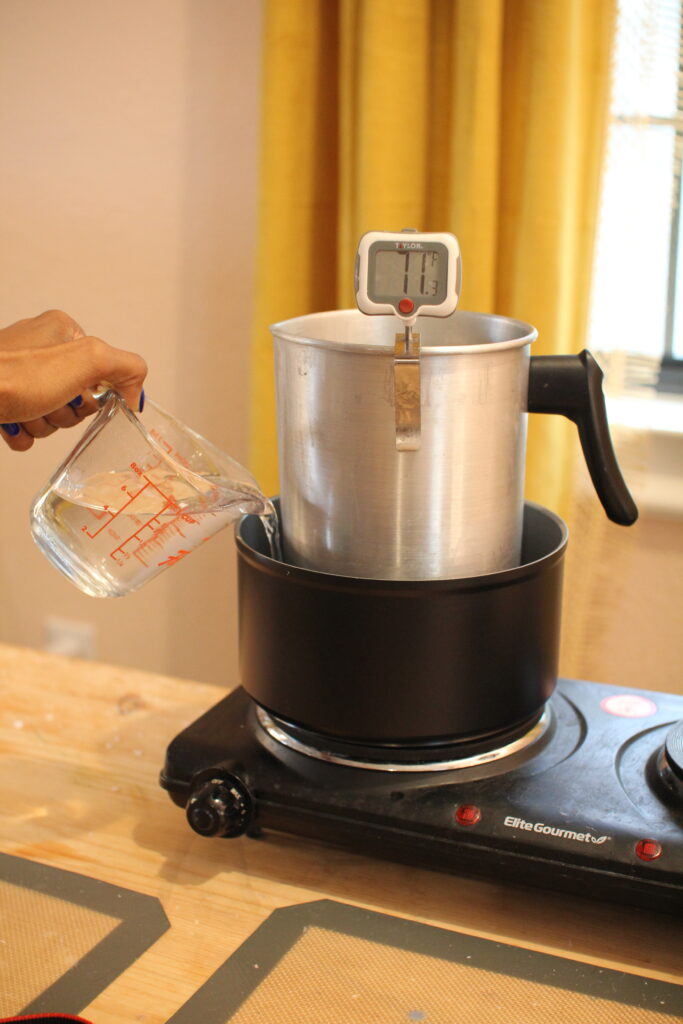
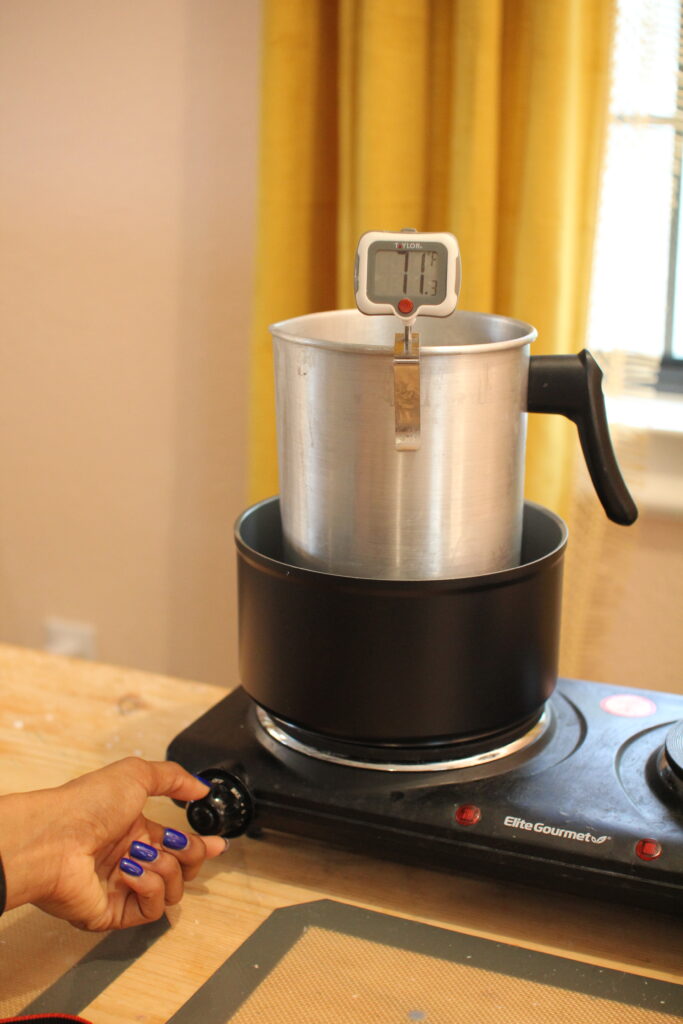
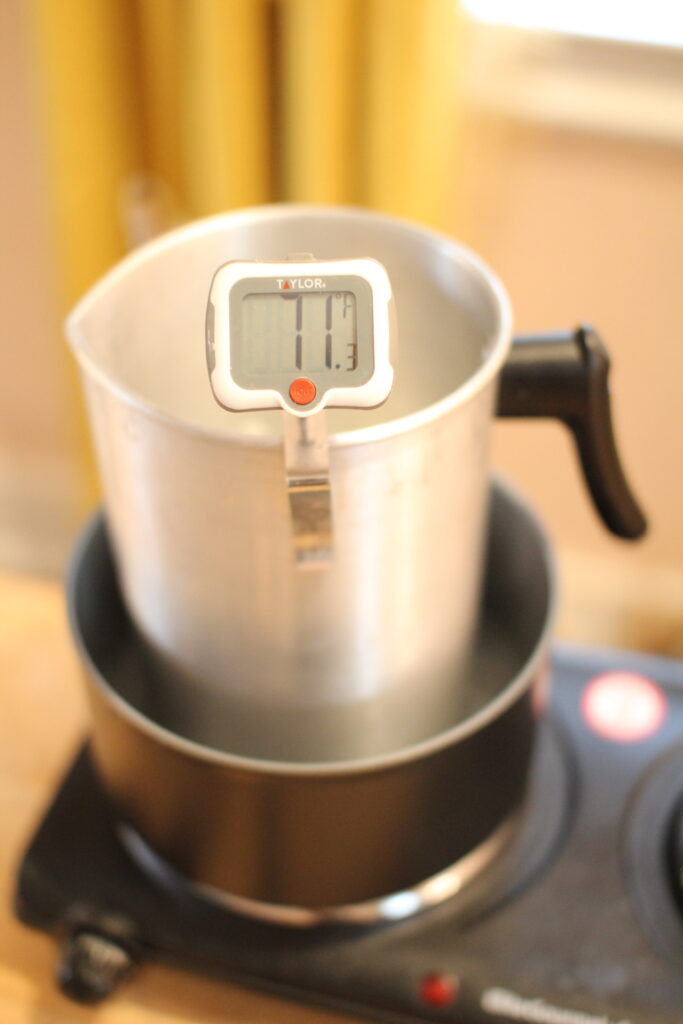
I don’t use a wax melter. I use a double boiler on top of a countertop burner. A double boiler is just a heatproof container inside a larger pot that is filled with water. This setup prevents the wax from overheating. If you’re making candles in your kitchen, you can do this on the stove. This is my set up – a pouring pitcher inside of a pot that I got from the thrift store for a few bucks. I use a countertop burner in my “candle studio” (aka my home office). This is what that looks like:
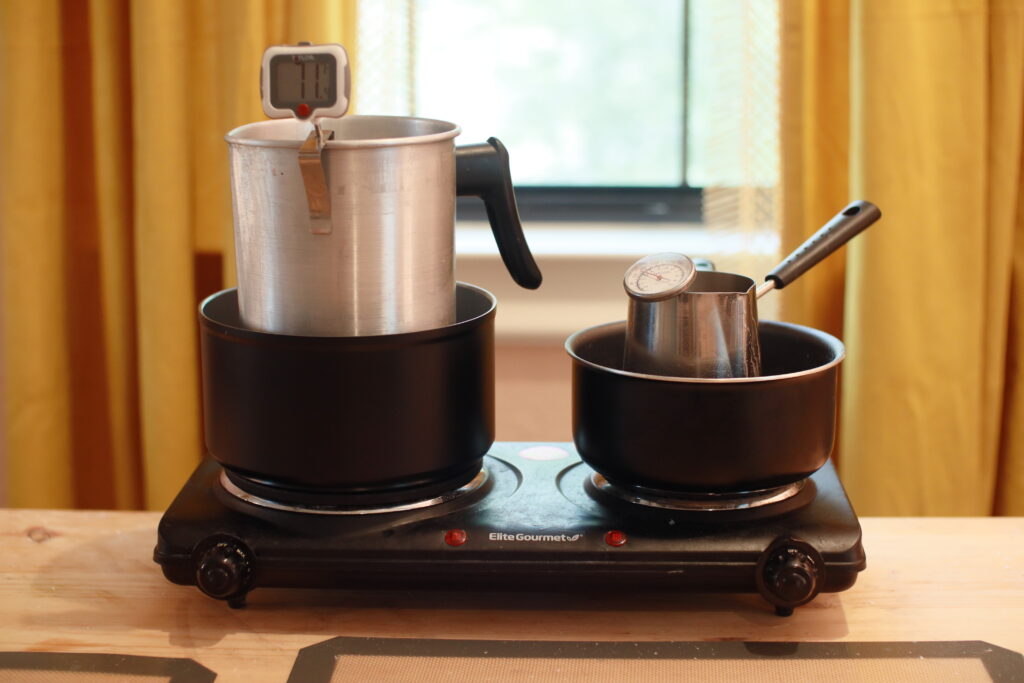
2. Pouring Pitcher: Look for one with a spout. That makes it easier to pour melted wax into the candle container without spilling. I actually prefer my smaller pitcher with the straight handle (on the right side of the picture above) because it’s easier to control.
3. Thermometer: Temperature tells you when it’s time to add fragrance oil or dye and also indicates the right time to pour the melted wax into the container. Pick a thermometer that will clip onto your pouring pitcher. I own a digital thermometer and an analog thermometer. Either one will work.
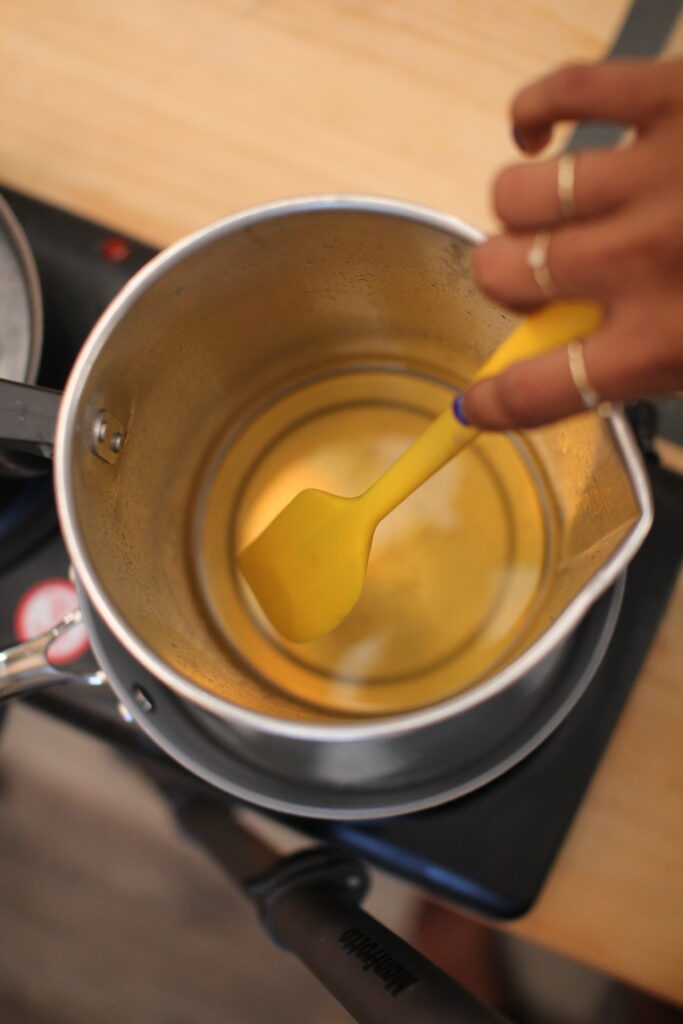
4. A spoon or a spatula: A wooden spoon or a silicone spatula will both work.
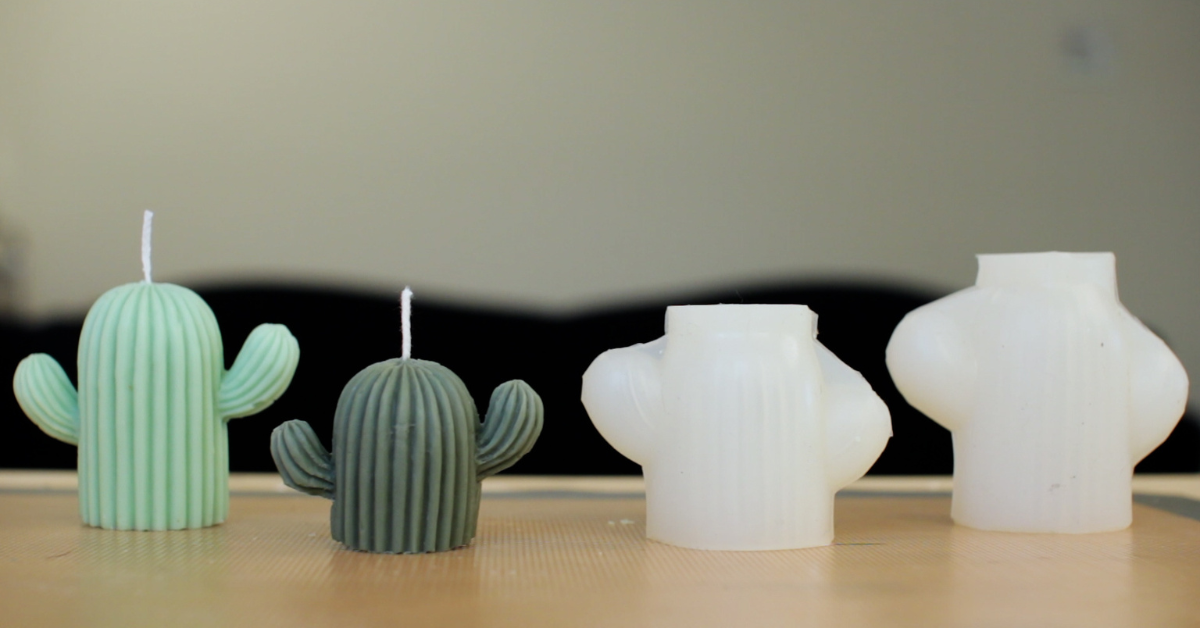
5. Candle Container or Candle Mold: If you want to make a container candle, you’ll need a heat safe glass jar, tin, or other vessel. If you want to make a taper, pillar, or unusual candle shape, you’ll need a candle mold.
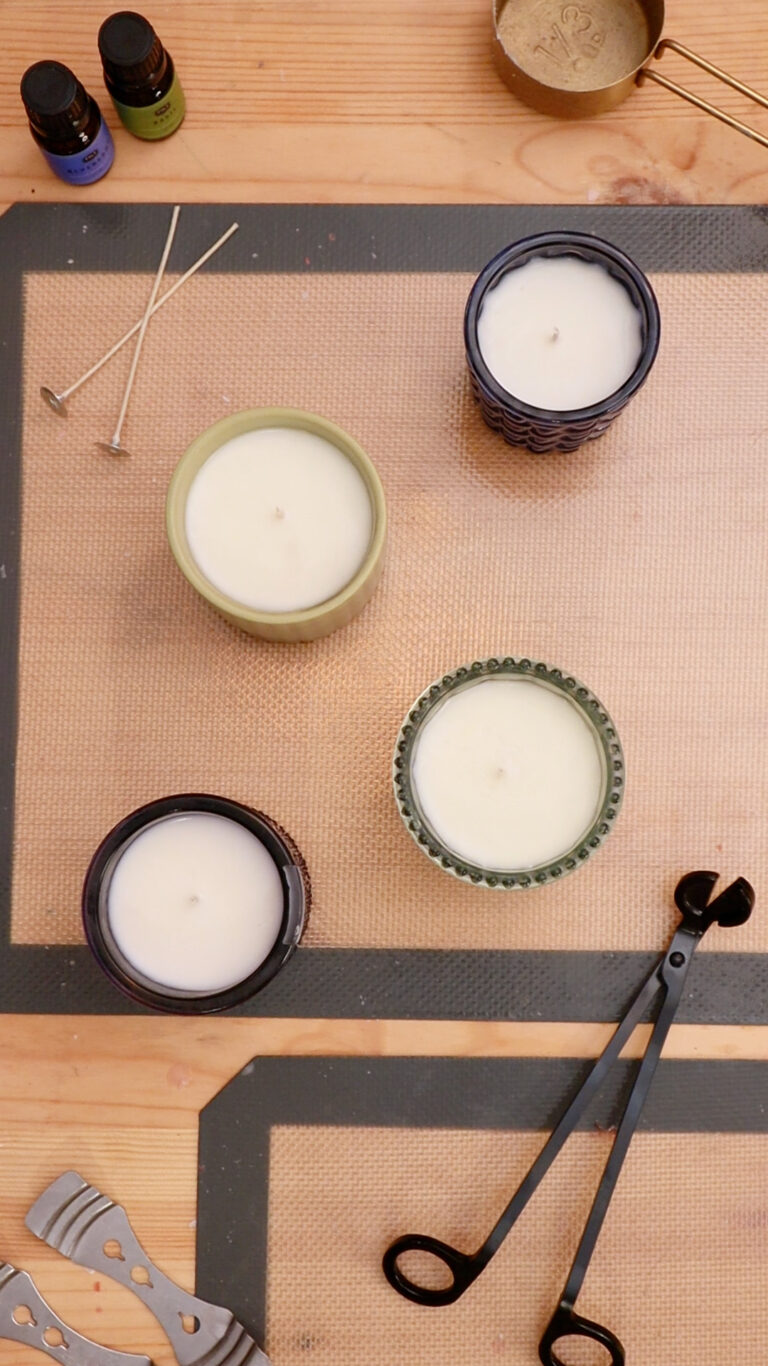
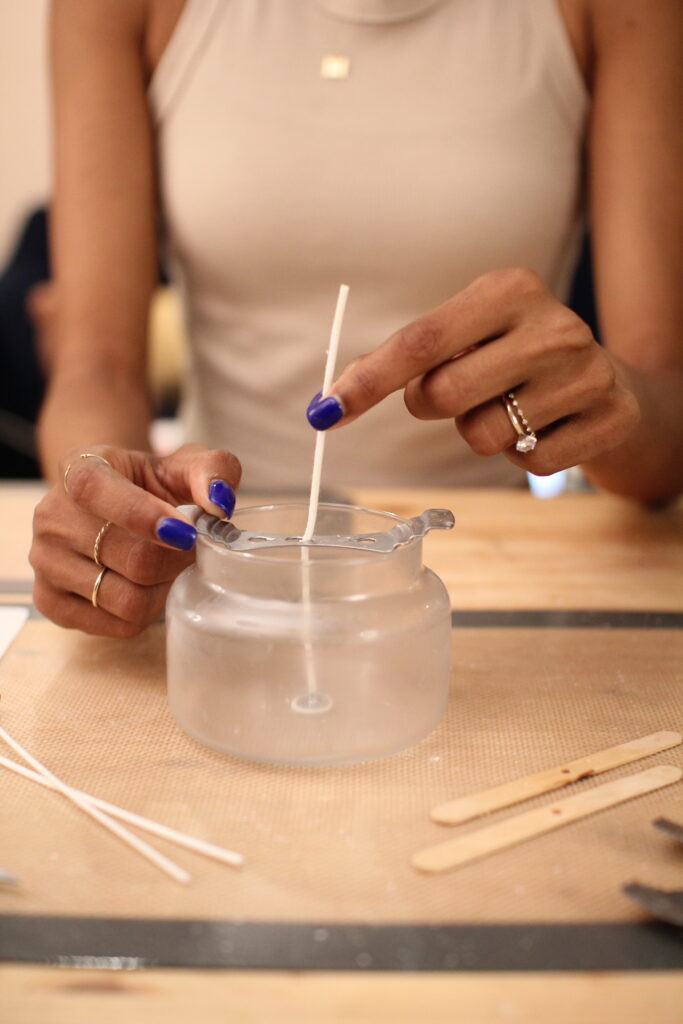
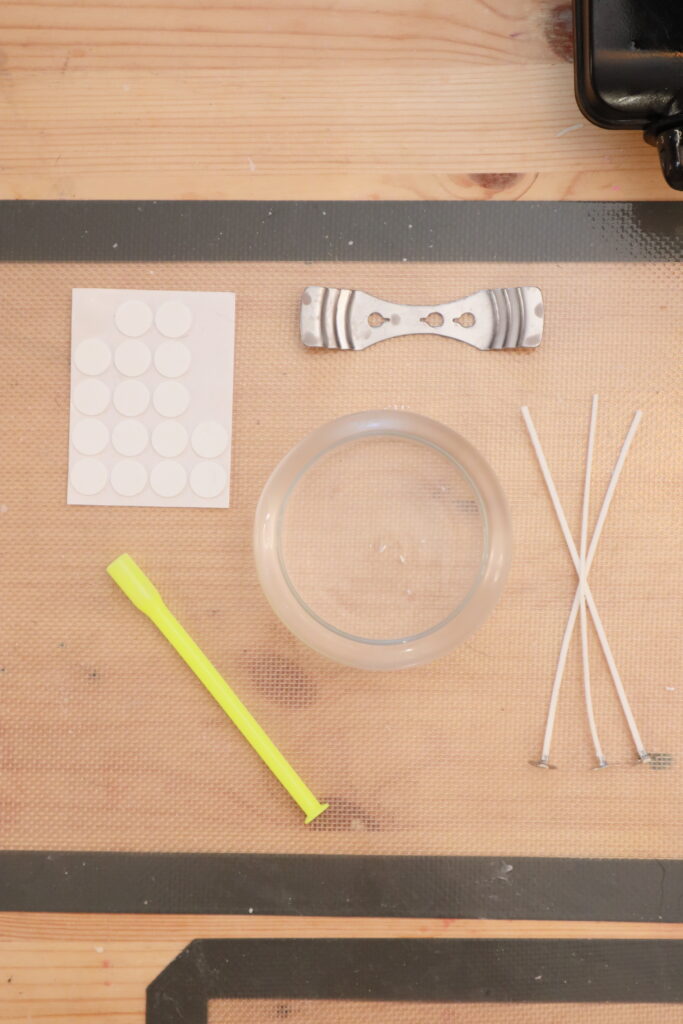
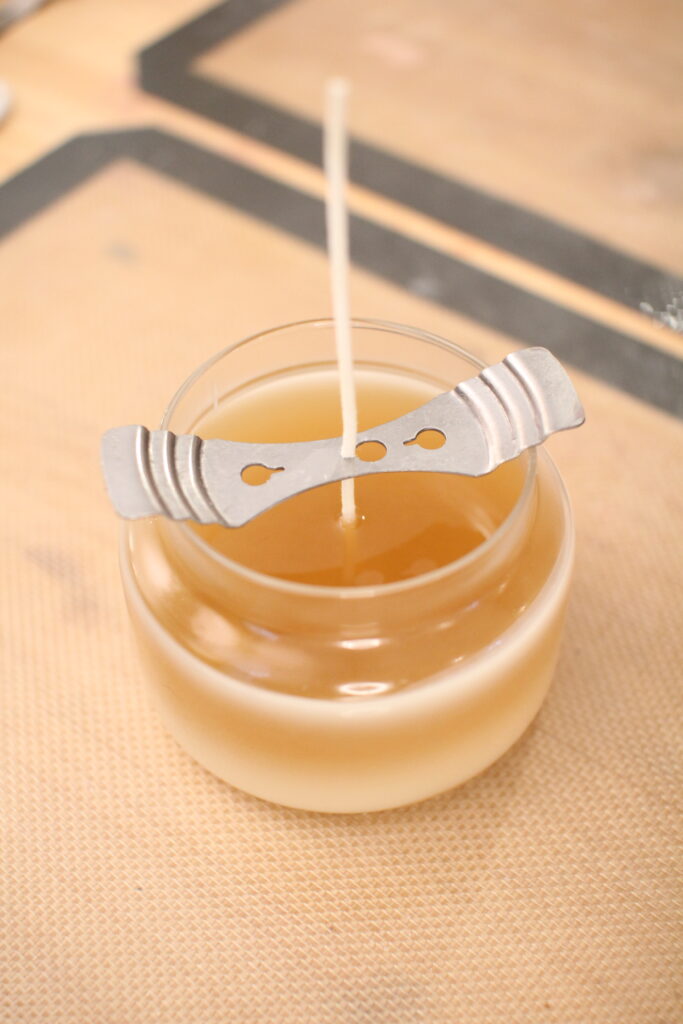
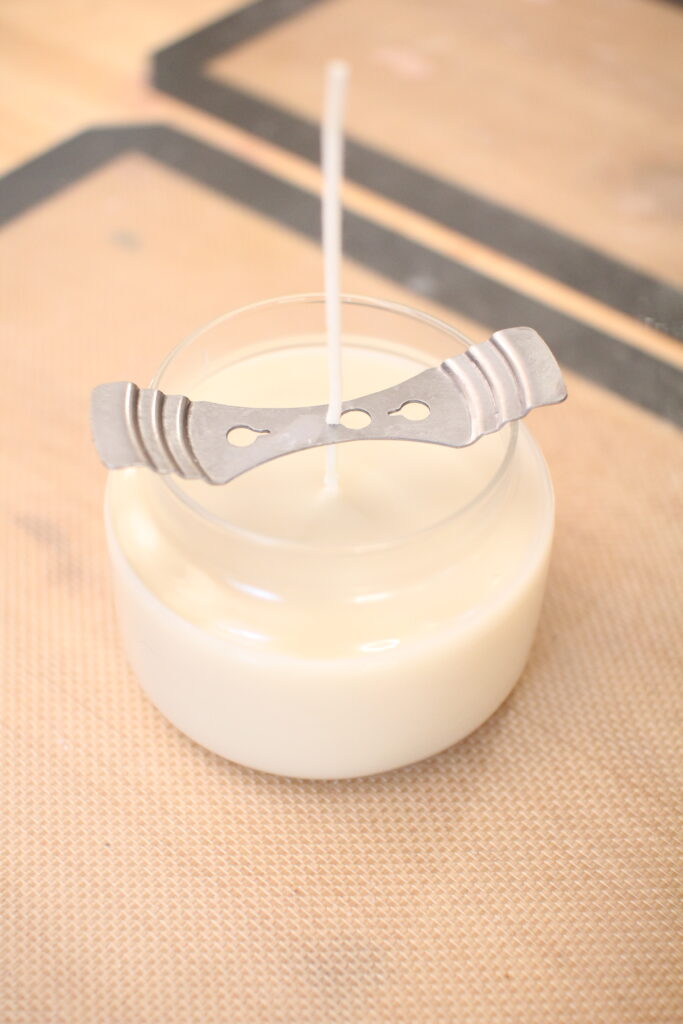
6. Wick Holders: A wick holder will keep the wick centered and upright while the candle cools. You do not need to buy anything to center the wick. While metal wick bars are relatively inexpensive, you can DIY a wick bar – I like to use popsicle sticks with holes drilled in the center. I have also used chopsticks on either side of a wick (especially for larger candles that are too wide for metal wick bars).
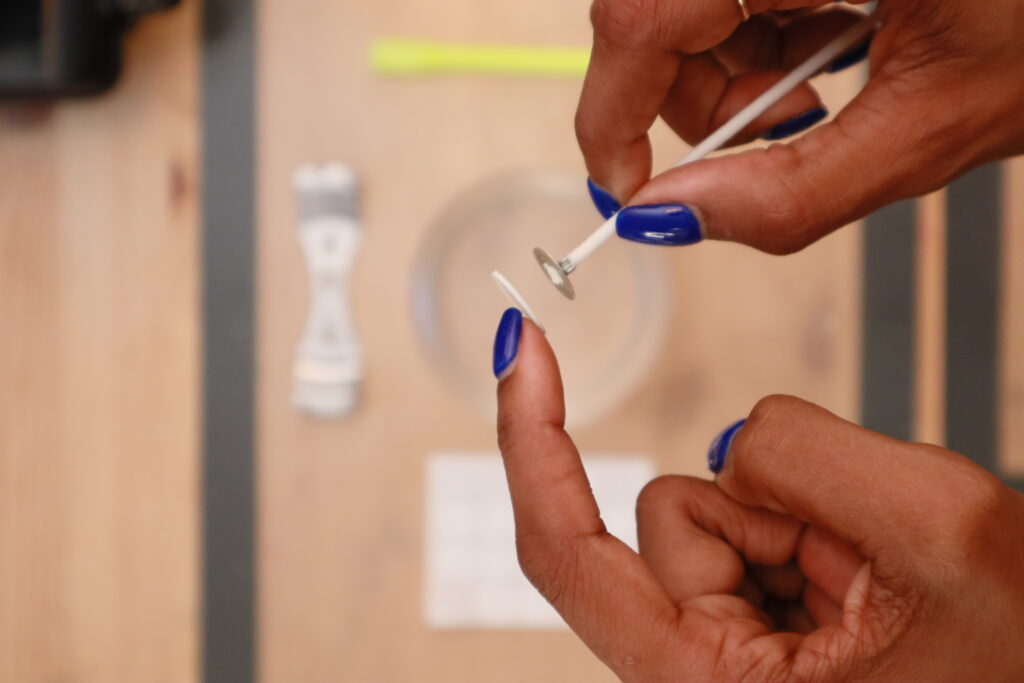
7. Wick Stickers: Wick stickers are adhesive tabs used to attach the wick to the bottom of the candle container so that it stays in place while the melted wax hardens into the finished candle. If you do not want to buy wick stickers, you can also use glue dots. I’m out of wick stickers, I’ll use a hot glue gun.
Ingredients for Candle Making
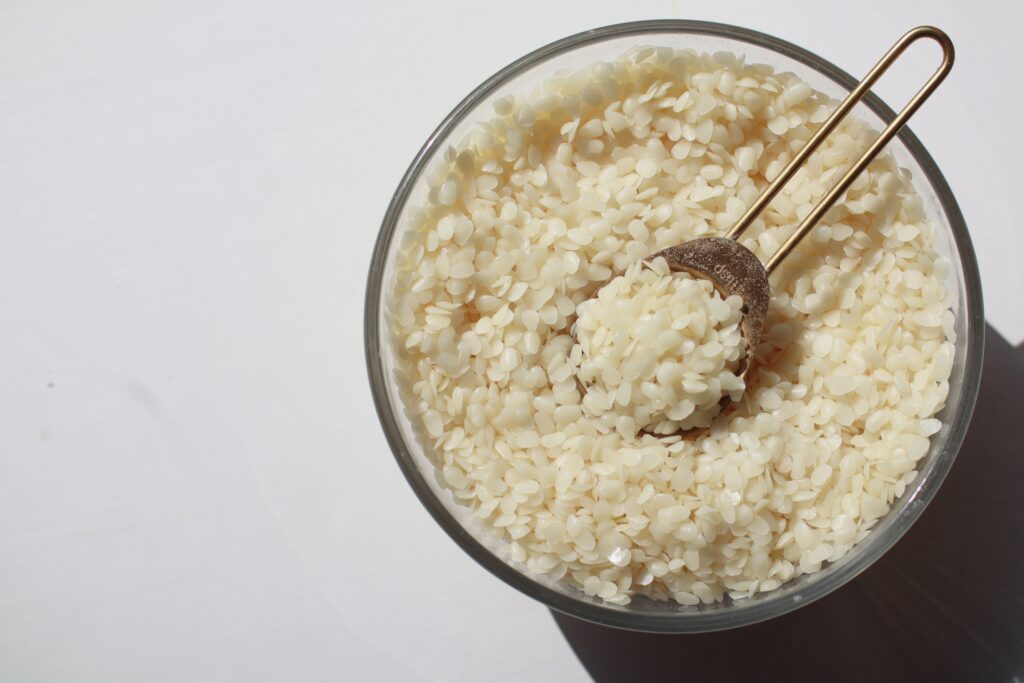
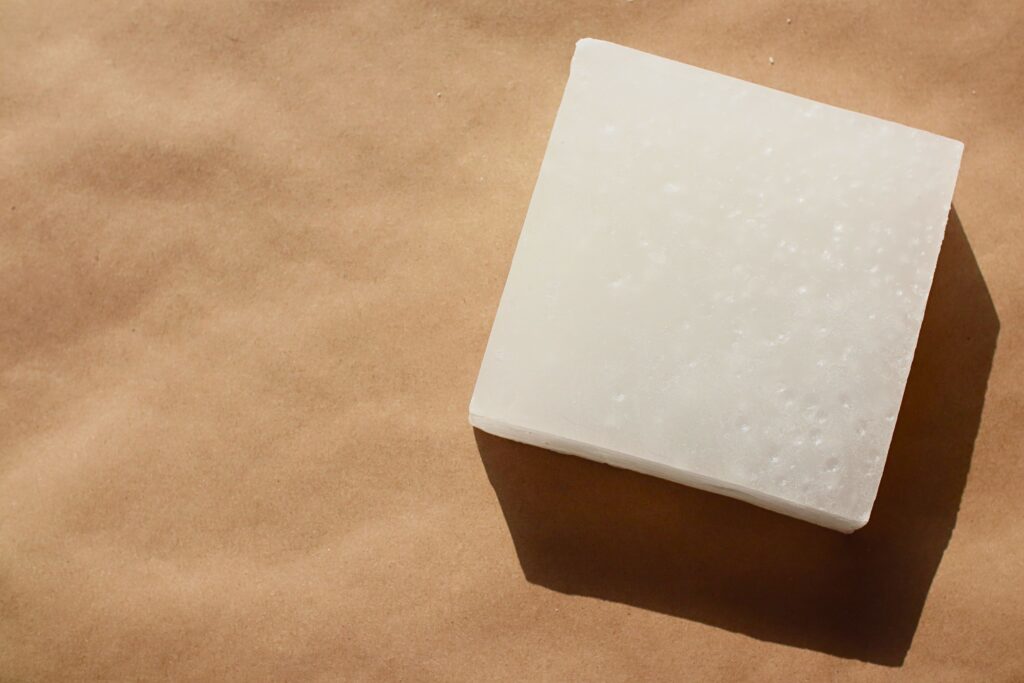
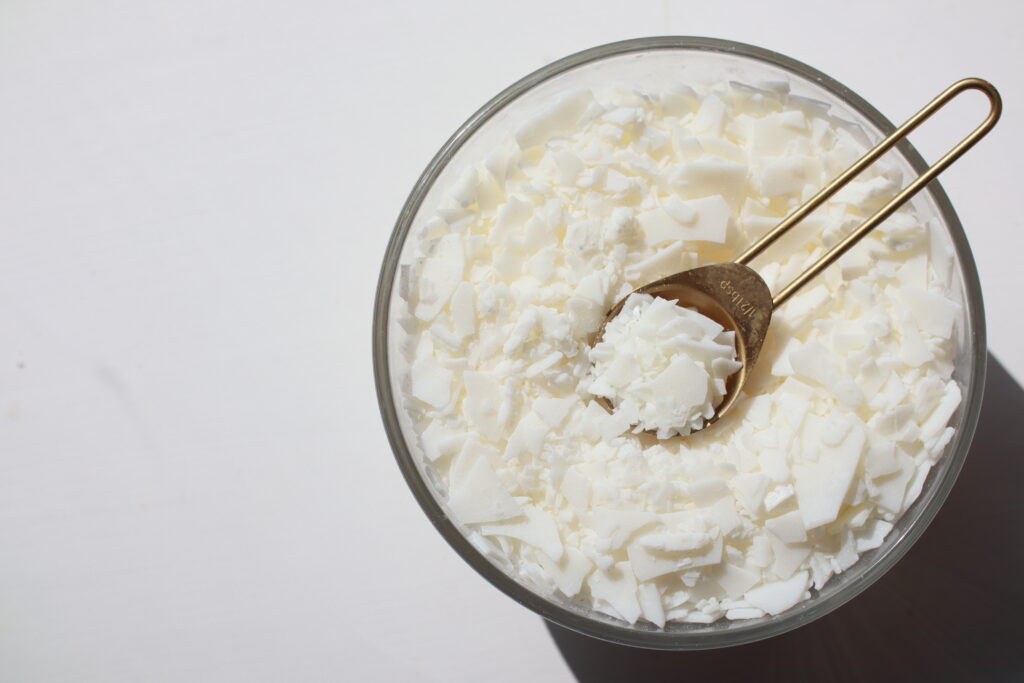
1. Candle Wax: The most common types include: soy wax, beeswax, and paraffin wax. Some candle supply companies also offer blends of multiple wax types. If you plan to make a candle in any sort of container like a glass jar or a tin, I’d recommend a softer wax like soy or coconut. If you plan to make candles using a mold, I’d recommend a harder wax like beeswax or paraffin wax.
2. Candle Wicks: Most wicks are made out of cotton, hemp, or wood. They also come in different sizes. All you need to remember is that larger candles will either require a larger wick or multiple wicks to burn the wax all the way to the edge. Just look at the wick packaging to find out what diameter the wick works best for. Pre-tabbed wicks are great for beginners – they come with a metal base that can easily be attached to the bottom of the vessel.
3. Fragrance Oil: If you want to create a scented candle, you’ll need to add fragrance oil. A lot of candle supply companies offer tiny 1 ounce bottles of fragrance oil that are inexpensive so that you can test a bunch of different scents without spending too much. (SIDE NOTE: I do not recommend using essential oils to scent your candles. They are a potential fire hazard.)
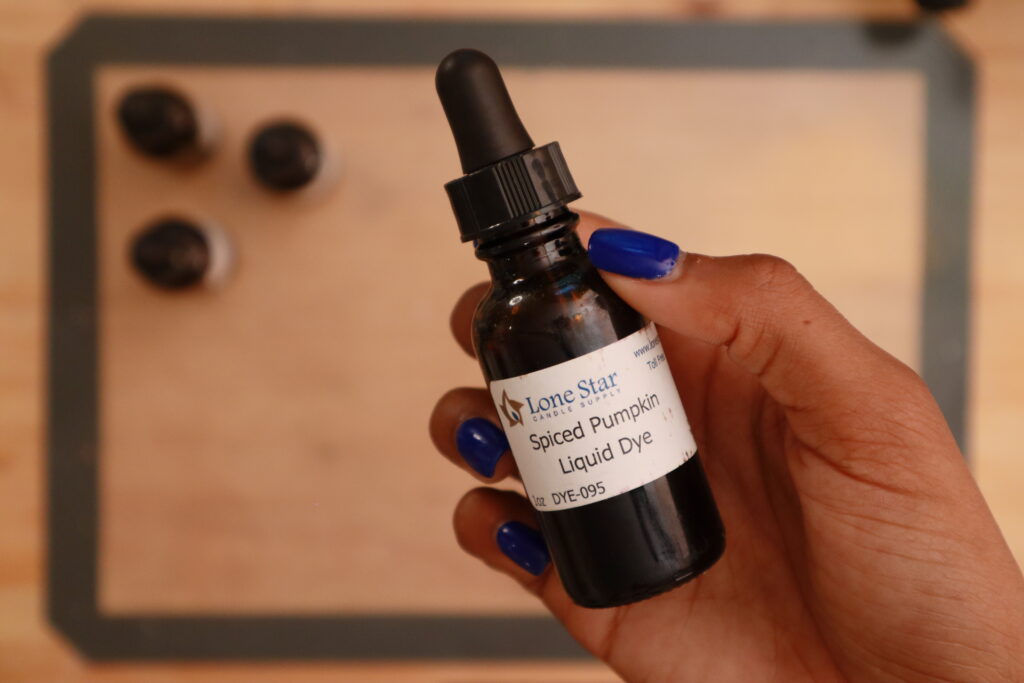
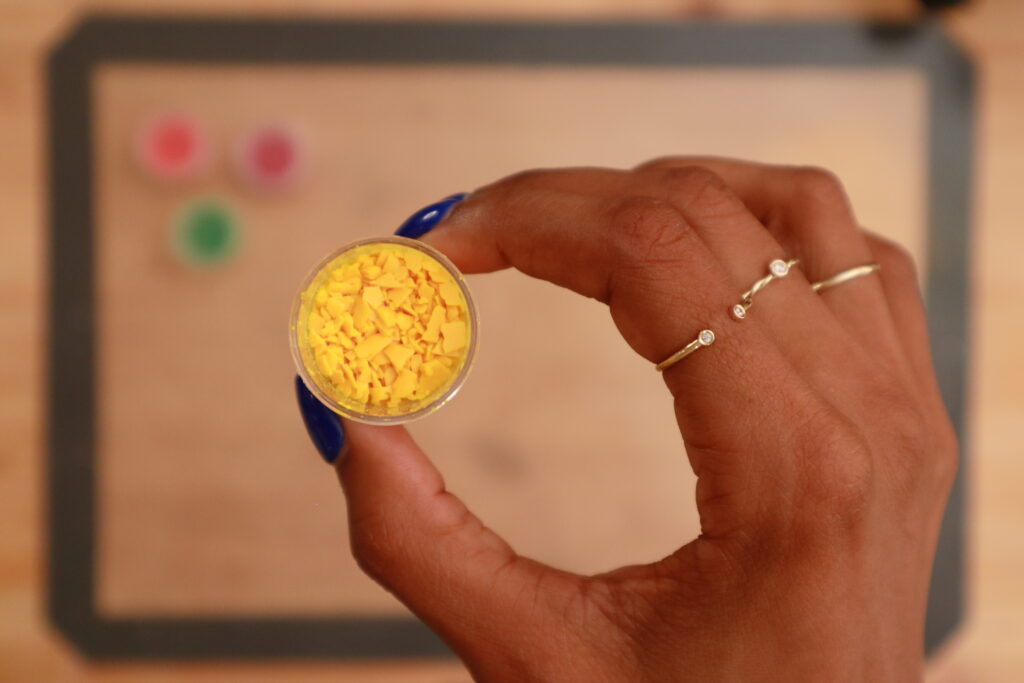
4. Dye or Pigments (Optional): You can use liquid dye, dye blocks, or powdered pigments to create candles in different colors. I recommend liquid dye if you want a stronger, more opaque color. If I’m going for a lighter or more pastel shade, I use wax dye chips or dye blocks.
6 Helpful Tools for Candle Making (Optional, but Helpful!)
You do not need any of the items I’m about to list below, but these 6 things are very helpful for candle making:
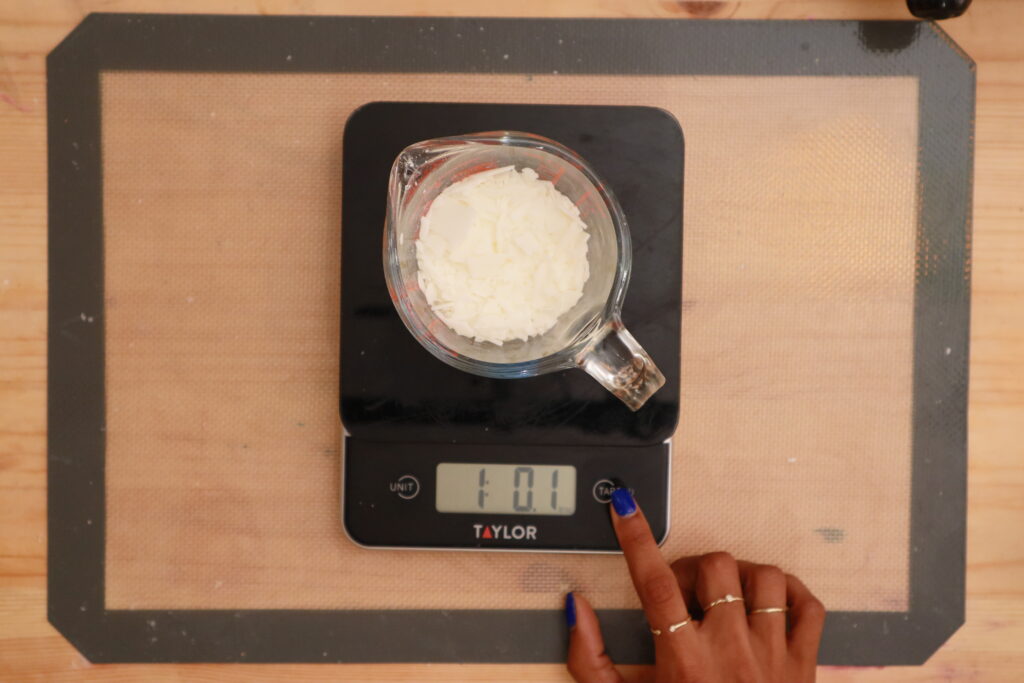
- Digital scale – To weigh the wax and/or the fragrance oil.
- Heat gun (or a hair dryer!): To smooth out the tops of wonky candles. If I had to suggest one bonus tool for candle making, it would be a heat gun. The one I use was less than 20 bucks. If you don’t want to purchase one, you can use a hair dryer instead.
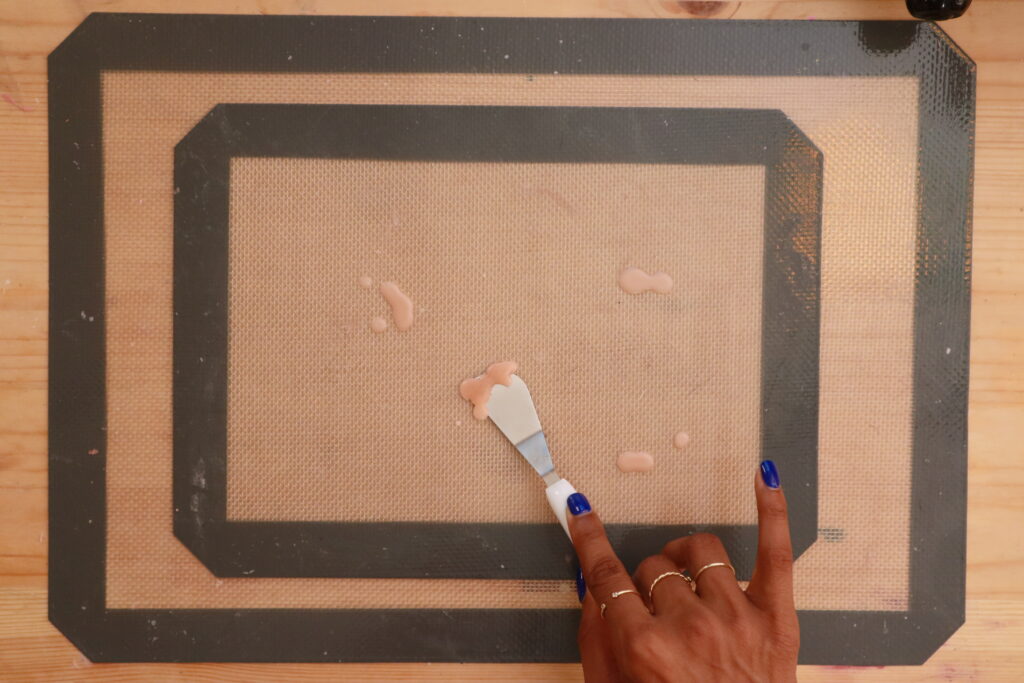
- Silicone Baking Mat / Silpat – Put these down on your work surface for easy cleanup! All you have to do to clean melted wax is peel or scrape it off of the silicone mat.
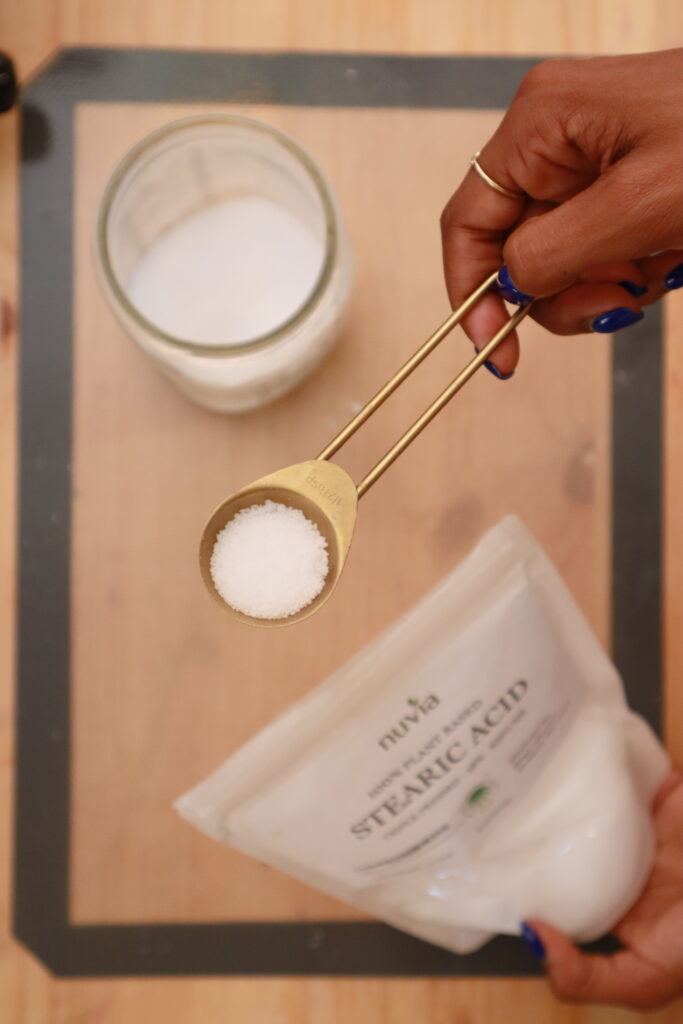
- Stearic Acid – Stearic acid is an additive that I use if I want a more opaque color or if I want to create a harder candle (so it’s great for the candles that I make using molds). It also helps to increase burn time.
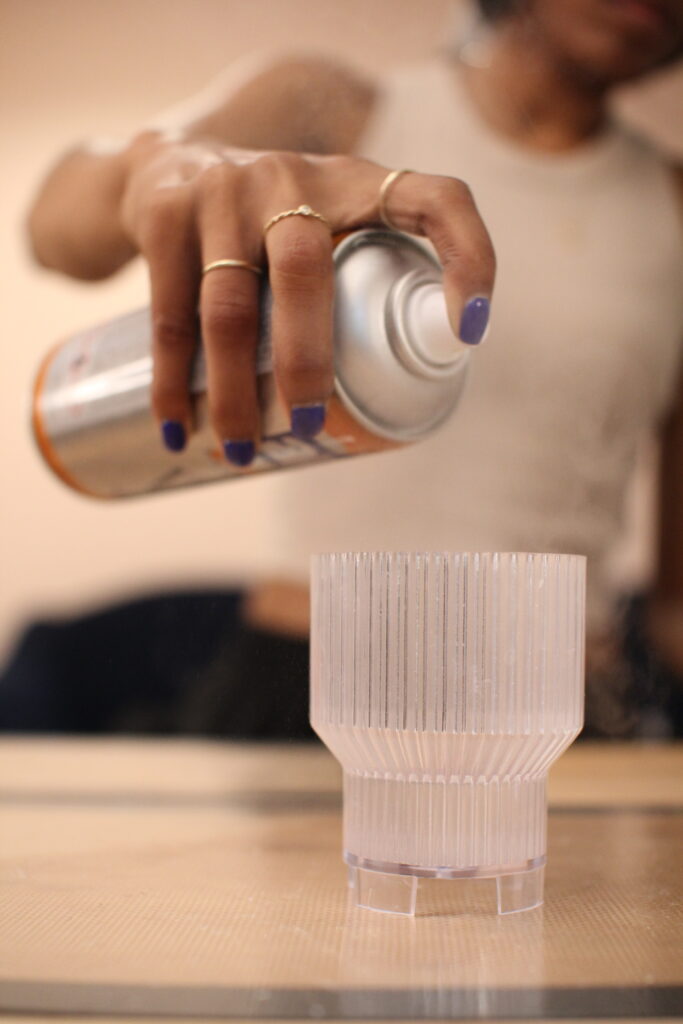
- Mold Release Spray – If you use a candle mold, you’ll want to coat the inside with mold release spray (or any cooking oil spray) to prevent the candle from getting stuck. If I’m out of mold release spray, I’ll use coconut oil spray from my kitchen. (You do not need mold release spray for flexible silicone candle molds).
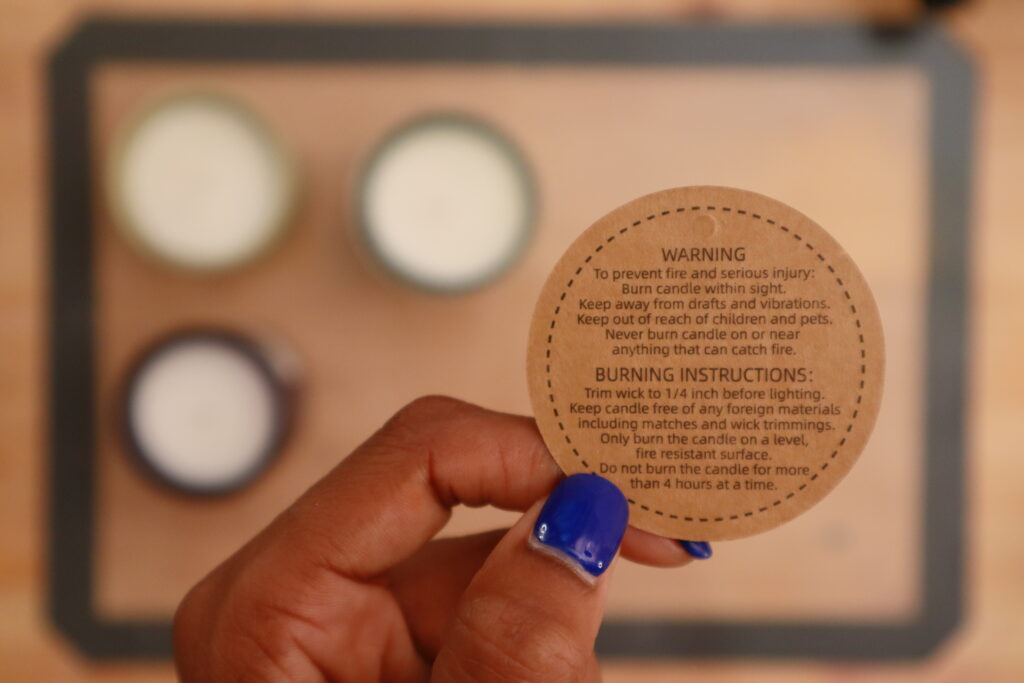
- Candle Care Cards – If you plan to sell your candles (or gift them), these are handy. There are so many pre-made versions available on Etsy. While you might not think that this is necessary, candles are a fire hazard. If you’re selling them, you should a. get candle insurance and b. protect yourself and your customers by including a candle care card about proper usage.
Best Candle Making Kits for Beginners
If you’re looking for an inexpensive start (less than $50): This candle kit includes a wax melter but is still very affordable. For less than $50, you get all of the essentials listed above. It even includes some fragrance oils and dye blocks so you can experiment with different scents and colors. I don’t love the candle tins in this kit, but you can always purchase other candle containers separately. This kit will give you a feel for candlemaking if you’re just trying to get started, but it will not have super high quality fragrance oils or wax if that’s what you’re looking for.
If you’ve got some money to spend ($500): Makesy has a good candle making kit, but it’s definitely on the pricier side and is targeted at “pros”. Their starter kit is about $280. Their pro kit is currently $509. They do include more beautiful vessels than your typical candle kit and the supplies are great quality so I’d recommend this option for people who want to invest some money in candle making and are potentially looking to start a candle brand.
If you want a candle kit targeted at a specific type of candle: Lonestar Candle Company has affordable candle kits and they also have a better variety of candle kits. They have separate kits for paraffin wax, soy wax, pillar candles, and votives as well as a more general starter kit. Pricing ranges from $85 up to $150. I’ve purchased a lot of supplies from Lonestar Candle Company over the years because they’re based in Texas so they’ve always shipped to me here in Houston pretty quickly and I’ve had great service every time I’ve ordered.
Here are links to every item mentioned in this post:
- Wax Melter (for up to about 12 lbs of wax) or get a Countertop Burner like the one I use in my setup above
- Wick Holders: Metal or Popsicle stick version
And that is everything you need to make candles. If you want more info on the best candle supply companies to order from, read my post on where to buy candlemaking supplies!
