I have been trying to make a black candle for awhile and it has never worked out. My candles would always come out in shades of grey. The thing to know about candle dye is that if you use too much of it, the wick will get clogged and the candle won’t burn properly. But clearly, if I don’t use enough candle dye, I’ll never get a truly opaque black candle. So I finally gave up on making a functional black candle. This one is just for decor.
I filmed a YouTube video of this candlemaking project. This is the arch mold I used. If you want to make this arch candle with me, you can watch here:
I also created a very helpful guide to making any candle in a silicone mold and a separate guide for how to make candles using an acrylic mold.
Making a Functional Candle vs. Creating a Decor Piece
Even if I didn’t use way too much dye for this candle, it still wouldn’t burn properly. As much as I love the trend towards candles in all different shapes and sizes, some shapes just don’t make sense from a functional perspective. This wide arch shape is nice to look at, but no single wick would ever be able to burn the wax from one end all the way to the other. The wick would burn the wax in the center and eventually, the two sides would collapse in on themselves. That said, I do not intend to burn this candle. This candle will live on a shelf as a decor piece. If you’re interested in this mold, you can buy it here.
Choosing the Right Wax Blend
I considered using paraffin wax because in my experience, it tends to take candle dye better than soy or beeswax. Since the primary purpose of this candle was to get a true black shade, I think it would have worked well here but I have been using a soy/beeswax blend for candle molds so I went with my usual routine on this one.
While soy wax is typically used for container candles, beeswax provides a harder consistency necessary for a candle that stands on its own without a container. However, I find that working with beeswax alone to be a bit challenging so I prefer to add a small amount of soy wax to soften it and make it easier to work with.
Adding Stearic Acid for Opacity
An additive that I use in most of my candles is stearic acid. It can help with the opacity of candles, improve burn time, and even help to harden candles. In this case, the goal of adding stearic acid was to help achieve a true black color instead of a lighter or grayish tone.
Choosing the Right Wick
The wick that I used is intended for candles with a 2-inch diameter. For a functional candle, I would match the wick size to the candle size. For a candle that I do not intend to burn, wick size does not matter.
Testing the Candle Color
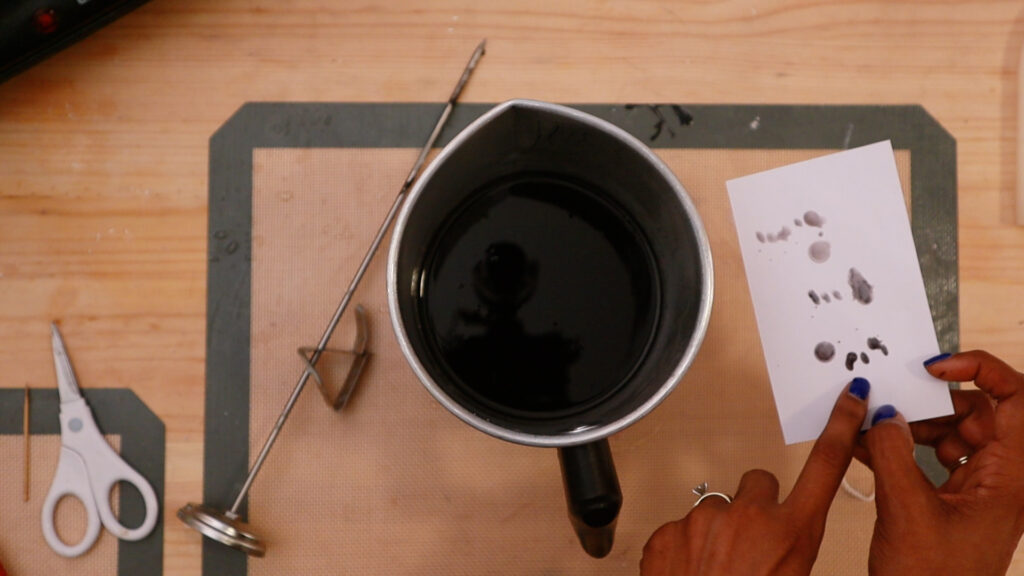
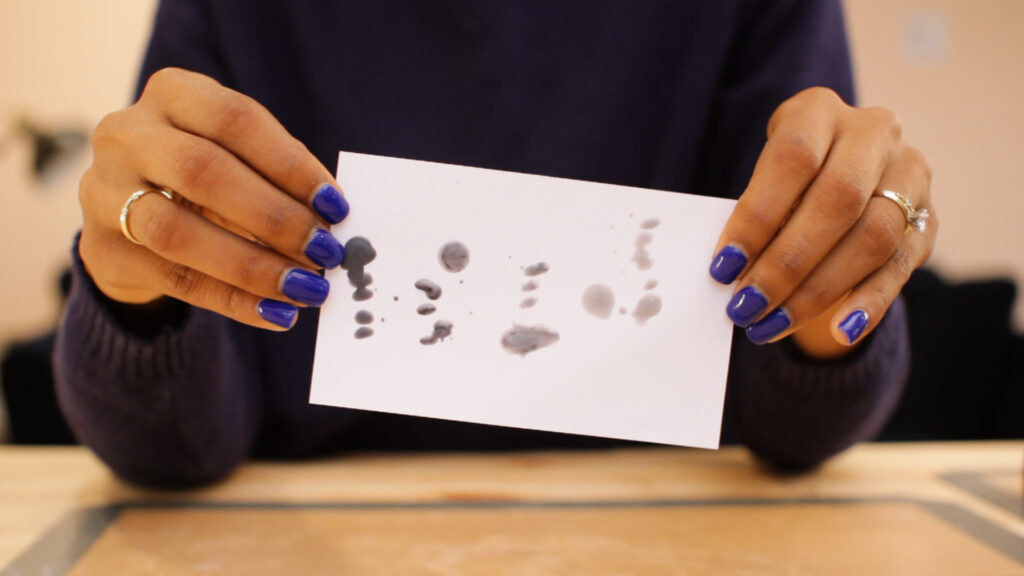
If you’re trying to achieve a specific color, I cannot stress enough the importance of testing it out before your pour the wax into the mold. I can’t tell you how many times I’ve mixed a color in the melting pitcher that turned out differently from what I expected when the candle finally cured. Just use a spatula to place a few dots of wax onto the paper and wait a few minutes until it solidifies. By placing the wax on a white piece of paper, the true color can be assessed more accurately.
I added a lot of dye and even though it turned the melted wax black pretty quickly, the first few tests came out in varying shades of grey so I had to keep adding dye and testing on paper until I got the desired color.
Pouring the Wax
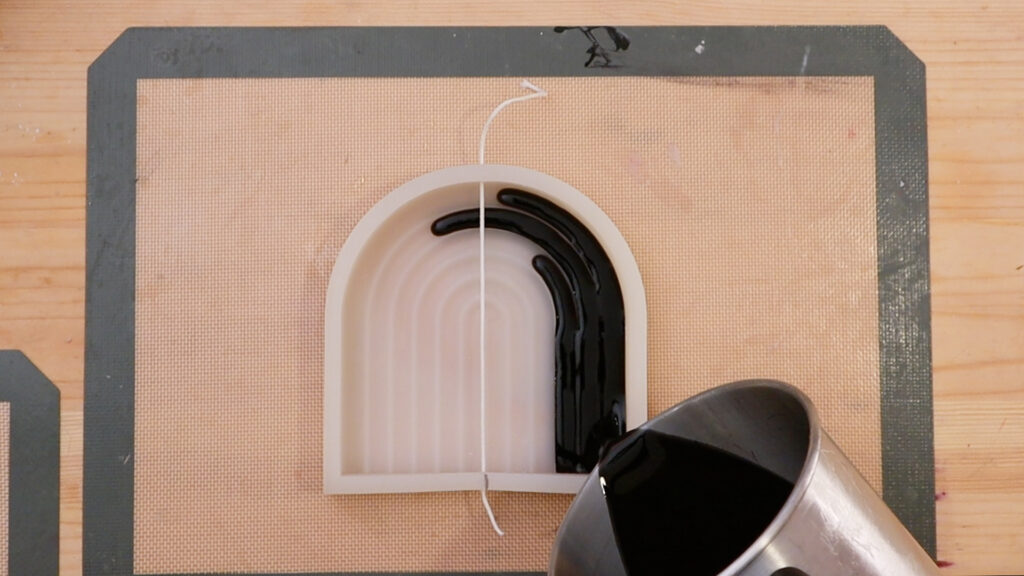
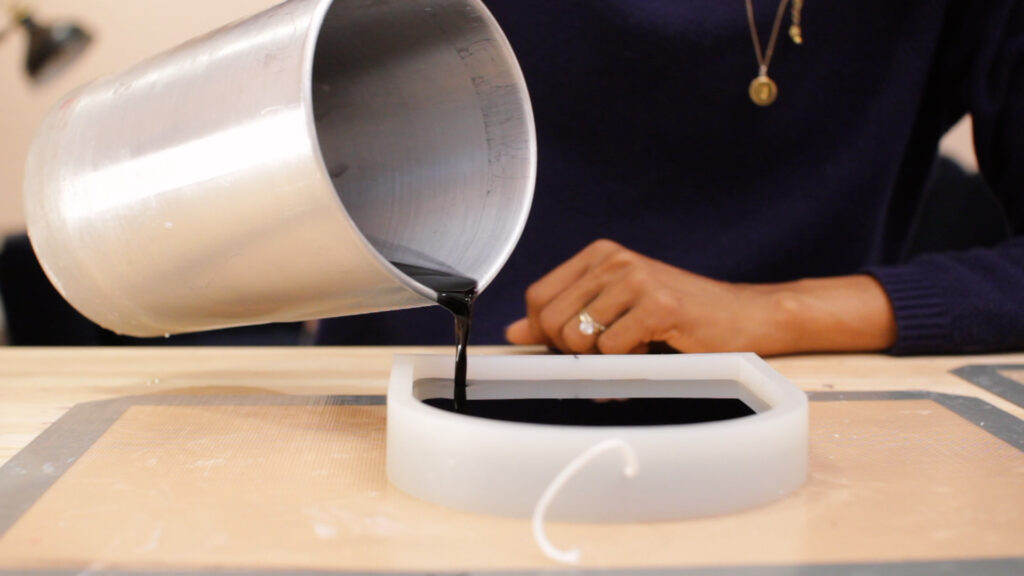
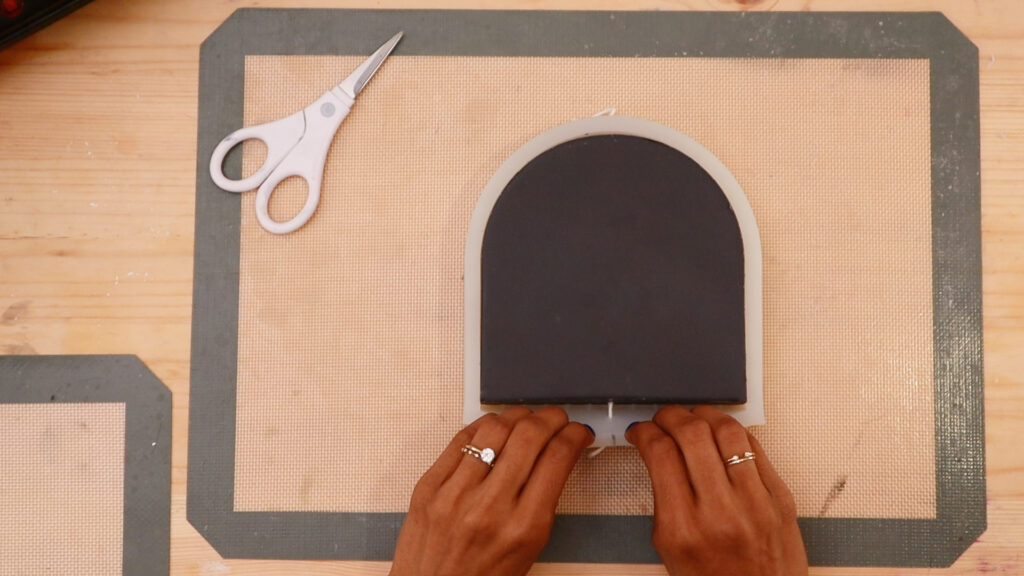
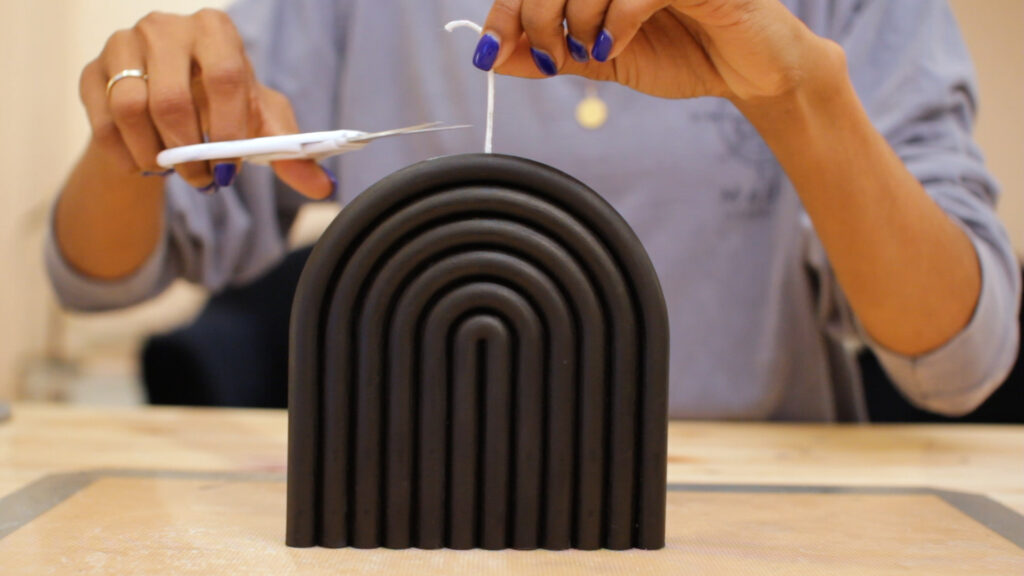
I let the wax cool down to around 155°F before pouring it into the mold. Pouring the wax at a slightly lower temperature helps prevent little dips or sinkholes from forming. After the pour, it’s just a waiting game. I came back the next day to de-mold the candle and trim the wick.
I love the result. I wish that I could achieve this color without overloading the wax with dye so I’m going to keep playing with dye chips and pigments to see what I can do to get a color this deep
Helpful Posts to Read Next
If you’re just getting started with candlemaking and you want a full list of the must have supplies and ingredients, you can read my post all about it here.
You should also check out my guide to making any candle in a silicone mold and my guide for how to make candles using an acrylic mold

