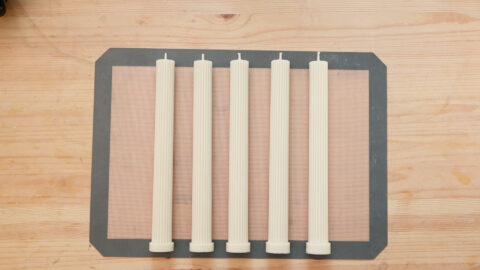
I hate when a sink hole forms on the surface of one of my candles. They ruin the look of the candle but they also affect the burn quality so here’s what you need to know to fix sink holes and, more importantly, how to prevent sink holes from forming in the first place. If you’re a visual learner, just watch this 5 minute video tutorial! I demonstrated with a taper candle, but these tips work on container candles too. I use a heat gun, but if you don’t have one, you can use a blow dryer instead.
Why is there a hole in my candle?
The simple answer is that you probably poured the wax when it was still too hot. You do not want to pour piping hot wax into a candle jar or candle mold. Wax shrinks as it cools down. Sink holes form while the wax is setting because the wax on the edge of the container is cooling down at a faster rate than the wax in the center. The wax will pull away from the center of the candle and leave a hollow space in the middle. If you allow the wax to cool more evenly, you won’t have this problem.
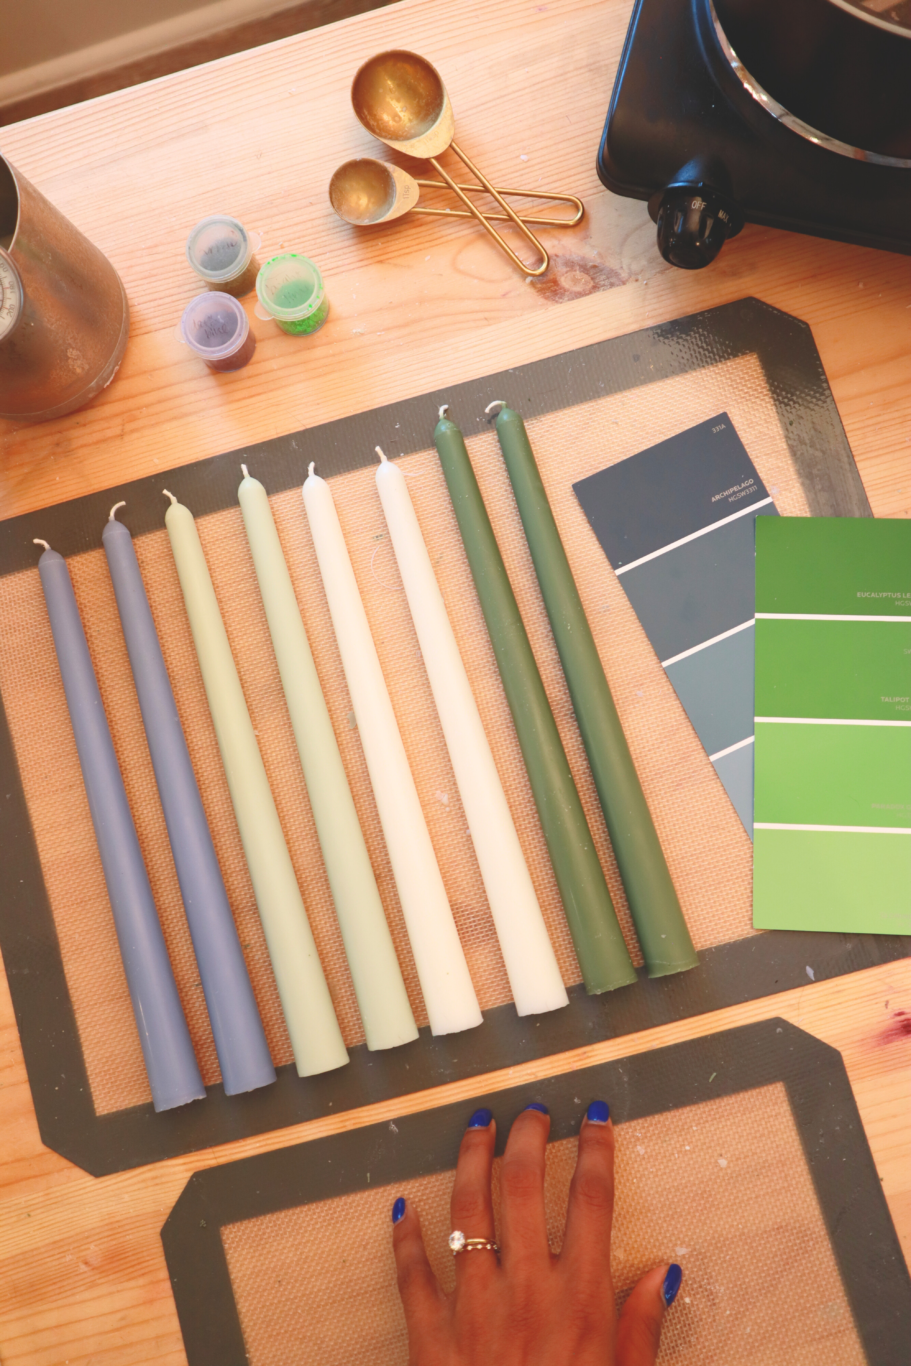
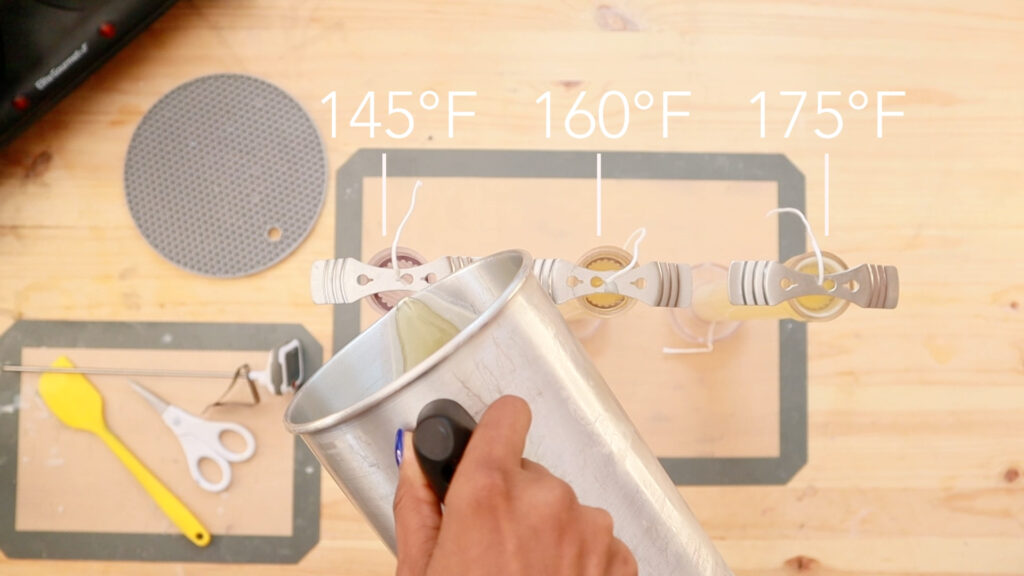
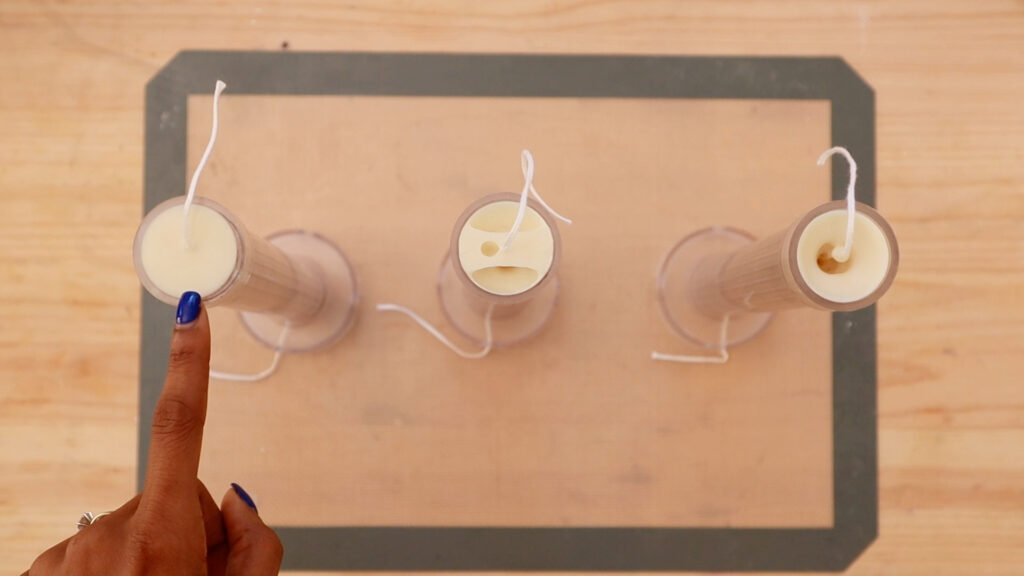
The tricky part about candles is that if you pour too hot, you’ll get sink holes. If you pour too cool, you’ll get jump lines (those white lines throughout the candle). It’s a Goldilocks problem, but it’s why testing at different temperatures is so crucial. I use a paraffin-soy wax blend for the majority of my candles and have found that my perfect pour temperature is between 145 and 155 degrees Fahrenheit. If you’re using a different wax blend, you might need to use a different pouring temperature. Do a few experiments like this to see what works best for you:
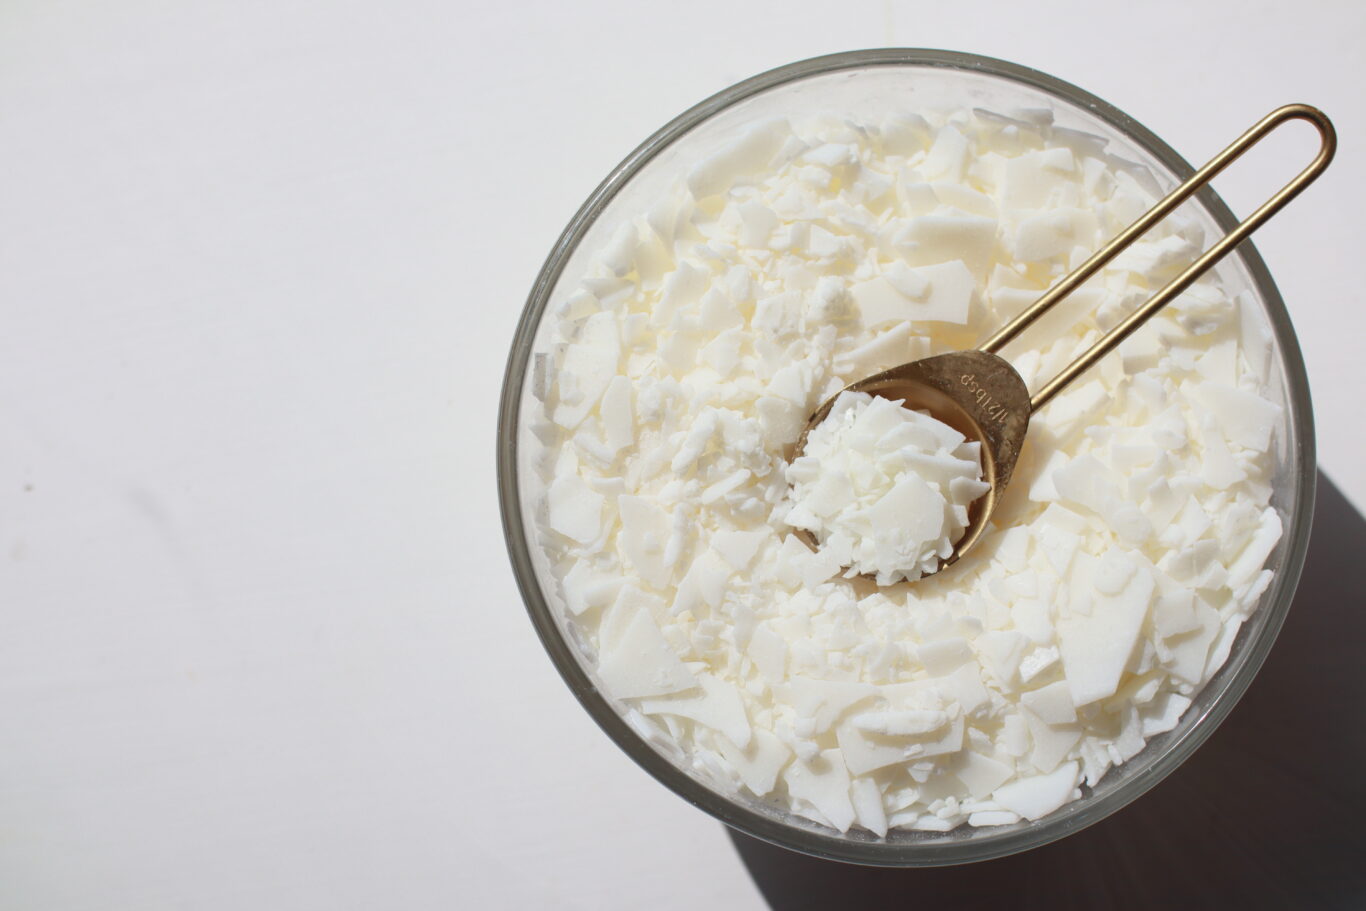
I also find that I get the worst sink holes from beeswax, but do better with soy wax. Experiment with different wax types if you’re having too many issues with the one you’re using.
How to Fix a Sink Hole in Candle Wax
Here’s how to do it:
- Find the Sink Hole: Some sink holes are obvious like the one in the video above, but they can also hide under the surface of what looks like a good candle so you may want to check for pockets of empty space deeper in the wax by piercing the surface with a wooden skewer (or anything pointy). This step creates a tunnel to any empty spaces beneath the surface.
- Re-heat the Wax: Next, use a heat gun to melt the top layer of wax. If you don’t have a heat gun, a blow dryer will work as well.
- Make it Level: The melted wax will drip down into the sink hole to fill it. Continue melting until the wax is level. (If the sink hole is massive, this may result in a much smaller candle. Consider doing a second pour or starting over with a new candle and using the tips in the next section to prevent a sink hole from forming.)
- Let it Set: After melting, leave the candle to cure. All the gaps should be filled in and you should be left with a beautiful candle that is ready to burn!
How to Prevent Sink Holes in Candle Wax
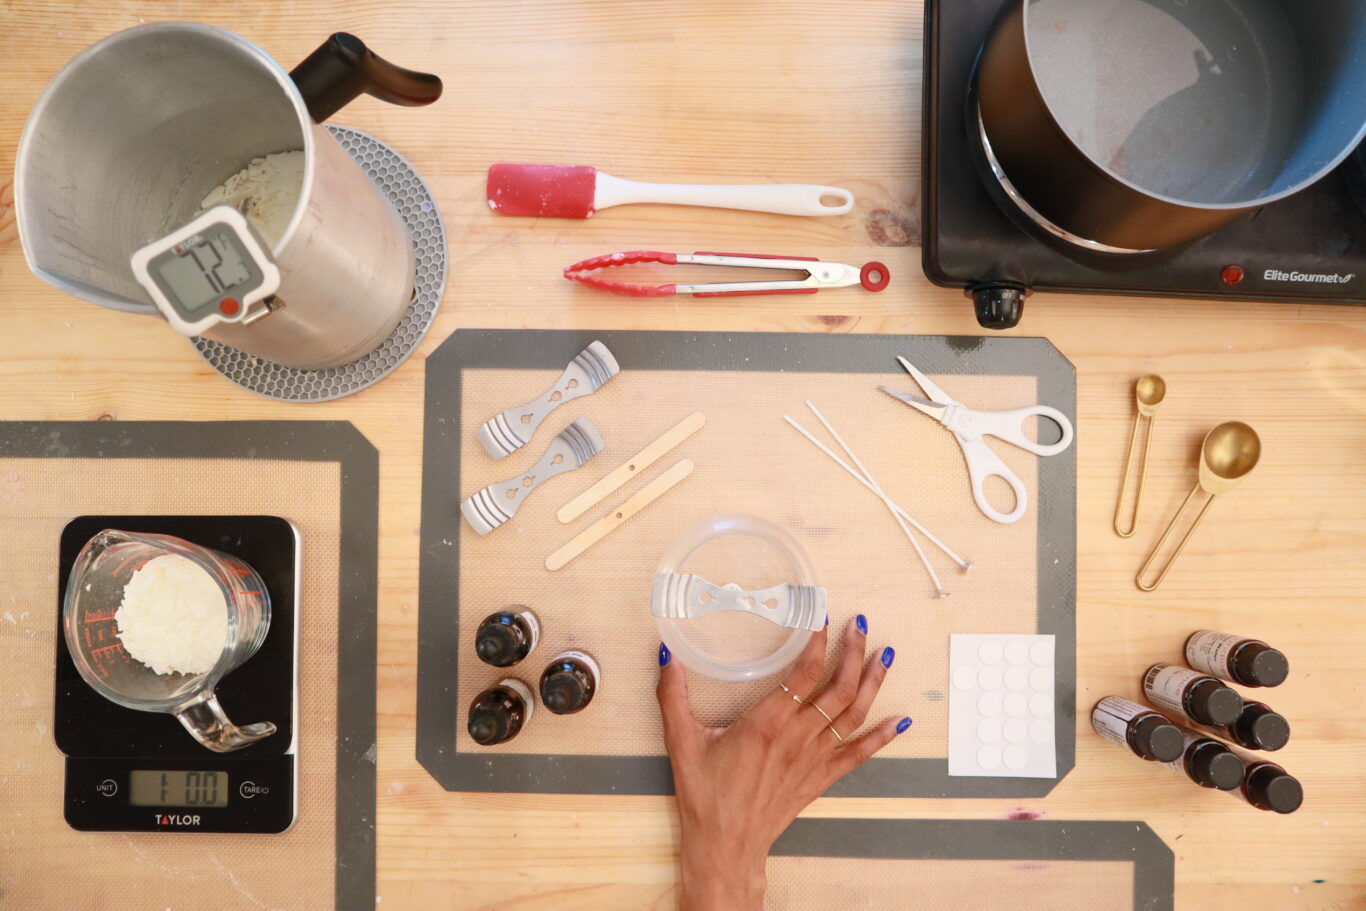
Here are some tips to avoid sink holes during the candle-making process:
- Pre-heat the container before you pour. This step helps the wax cool more evenly. You can preheat using a heat gun, or some candle makers prefer placing their containers in an oven set to low heat. Experiment with what works best for you.
- Pour at the right temperature. The wax should not be piping hot. The cooler the wax is when poured, the less likely you are to encounter sink holes. The exact temperature will depend on what wax type you are using and you can check the instructions from the manufacturer for suggestions.
- Do a second pour at a warmer temperature. Fill the candle jar or mold with wax, but save some of the wax for a second pour. This second pour should be at a higher temperature (e.g. if you do the first pour at 150 degrees Fahrenheit, do the second pour at 155). So here’s how that would look: Pour the initial wax. After the initial pour, keep the leftover wax warm on the burner for a few minutes. Perform a second, smaller pour into the center of the candle. This warmer wax will help to fill in any gaps and prevent sink holes from forming.
Key Takeaways for Candle Makers
Just remember these key points to deal with sink holes:
- Poke holes to access air pockets before re-melting the surface of the candle.
- Use a heat gun or blow dryer to even out the wax.
- Pour at cooler temperatures to minimize sink holes.
- Pre-heat your containers for better results.
- Consider a second pour with warmer wax to fill in any gaps.
Happy candle making!