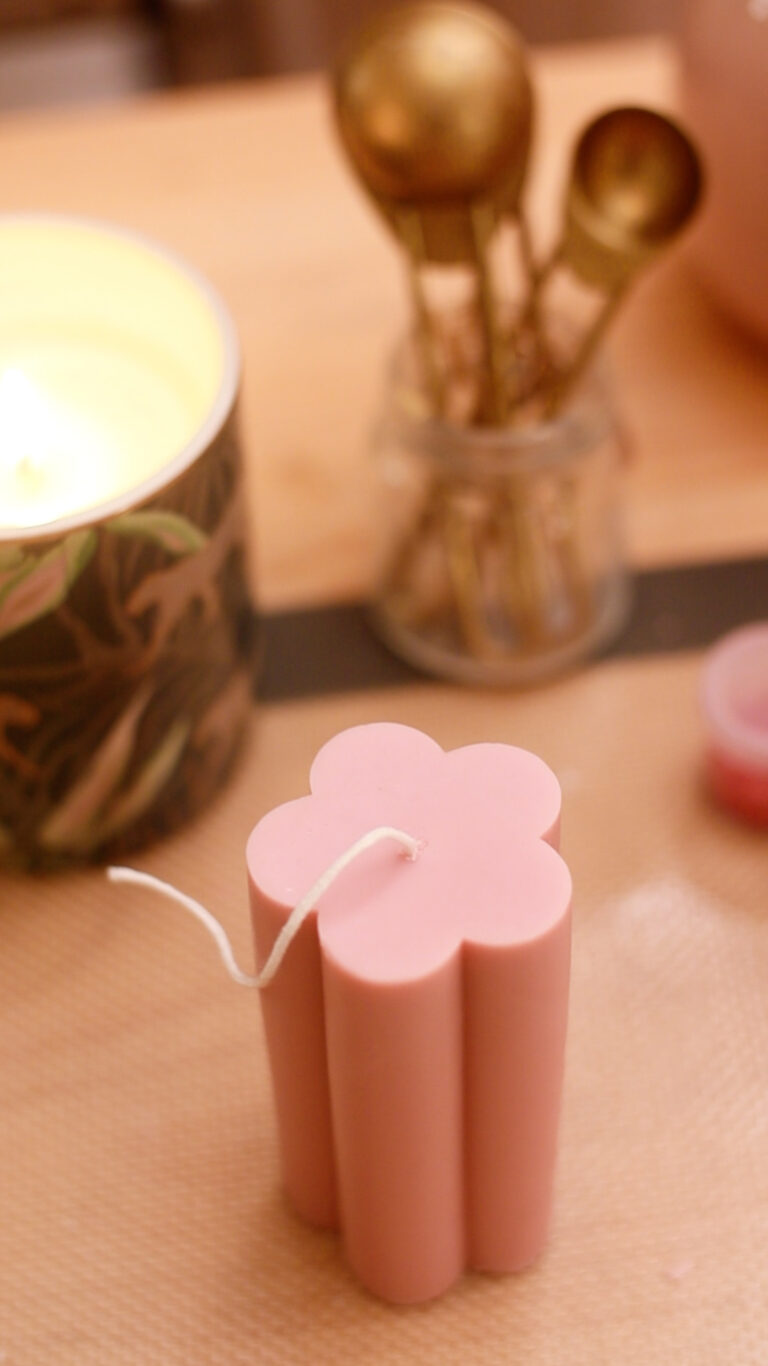
There’s nothing more frustrating than pouring a candle that ends up getting stuck inside of the mold. This used to happen to me all of the time when I was a beginner candle maker, but I have figured out a few easy ways to prevent it (and 2 ways to remove candles if they do get stuck). Keep reading if you want a smooth candle release every time!
If you are already dealing with a stubborn candle, you can skip straight to my tips on how to remove a stuck candle here!
How to Prevent Candles from Getting Stuck in Molds
I would recommend doing all three of these things, but if there is only one tip you follow from this list, it should be tip #2!
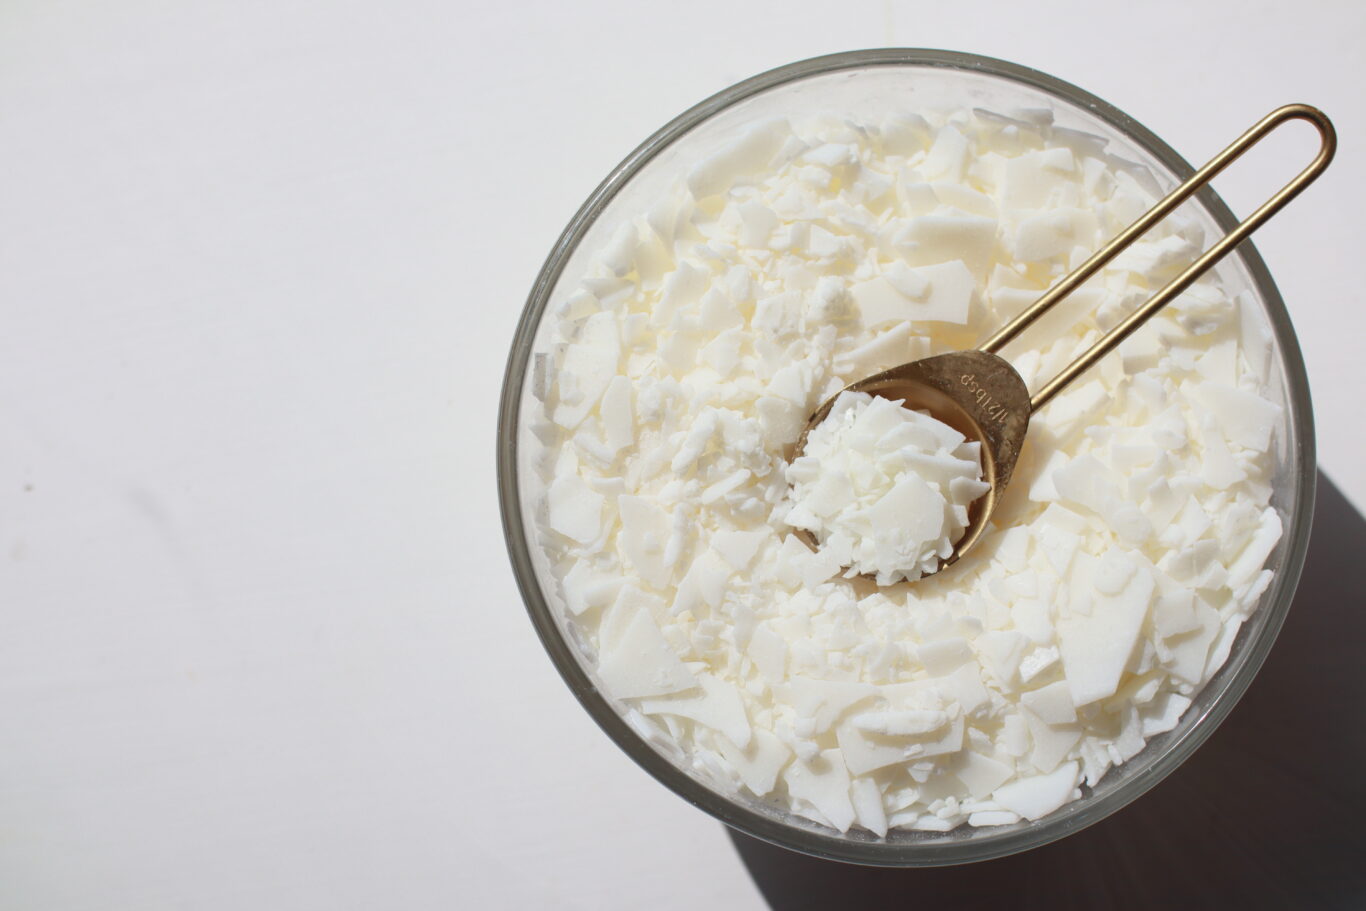
1. Use the right wax. Harder waxes are better for candle molds.
Wax type affects how easily a candle will pop out of the mold. Harder waxes tend to shrink away from the edges of the container they are poured into as they are cooling down. Softer waxes tend to adhere to the edges of the container they are poured into. The more the wax pulls away from the edges of the mold, the easier it will be to pop out. Harder waxes like paraffin wax, beeswax, or pillar wax blends are better for molds. Softer waxes like soy and coconut apricot wax are not suitable for molds.
In order of most to least suitable, here are my recommendations:
- Pillar wax blends are specifically formulated for pillar candles (and other molded candles). If you’re a beginner, start with a pillar wax. Most blends pair paraffin with soy, but you may also see blends that use palm wax or beeswax.
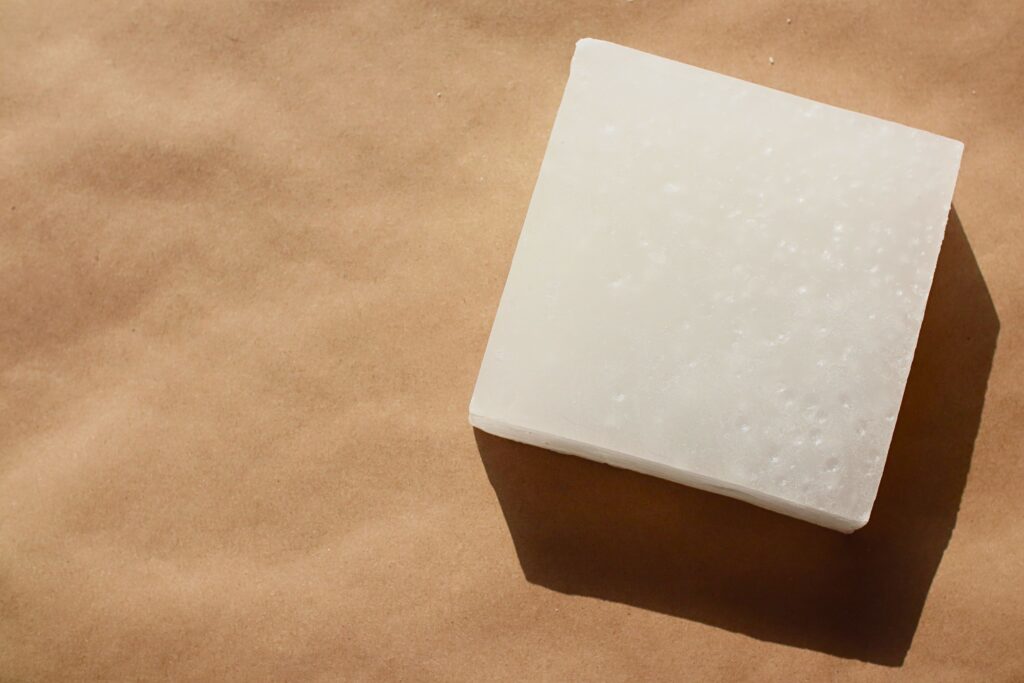
- Paraffin wax is (1) durable and (2) will shrink slightly as it cools. Those 2 things come in handy when you’re de-molding a candle. That said, I tend to avoid using 100% paraffin wax because it’s more prone to sink holes. That is why my top recommendation is a pillar wax blend with paraffin in it rather than 100% paraffin by itself.
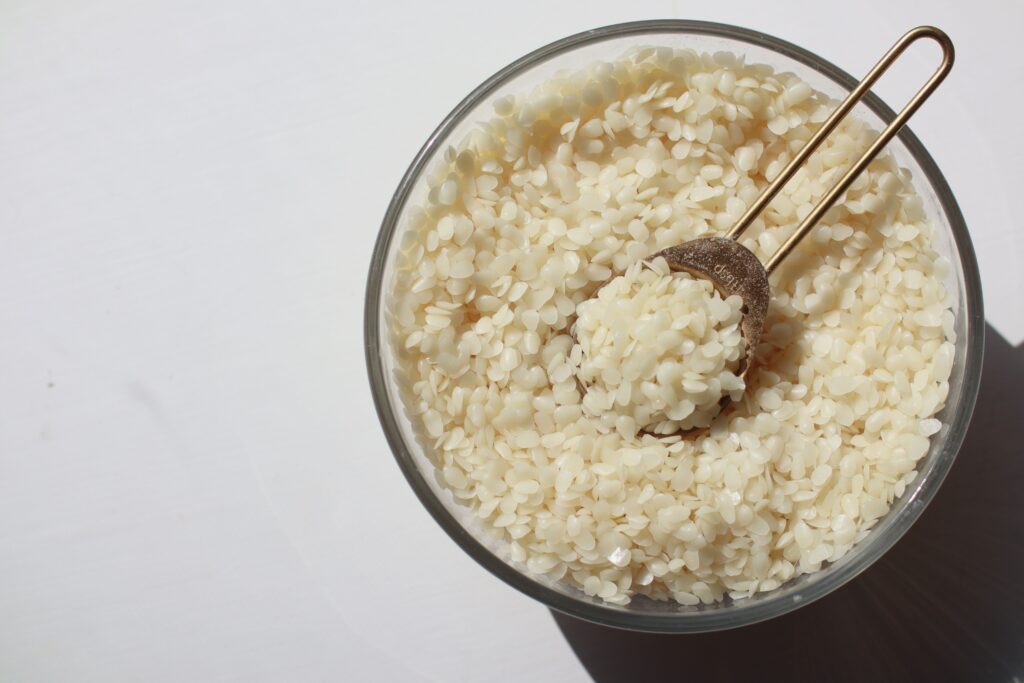
- Beeswax also tends to shrink like paraffin, but I find it harder to work with. It also doesn’t take color as well as paraffin so if you like to create brightly colored molded candles like I do, use one of the other wax types.

Avoid softer waxes like soy wax or coconut wax. The fact that they stick to the sides of whatever they are poured into makes them great for container candles, but bad for molds. Plus, candles made from softer waxes are more likely to break during the de-molding process. If you’re determined to use soy, blend it with a harder wax or mix in an additive like stearic acid to harden it.
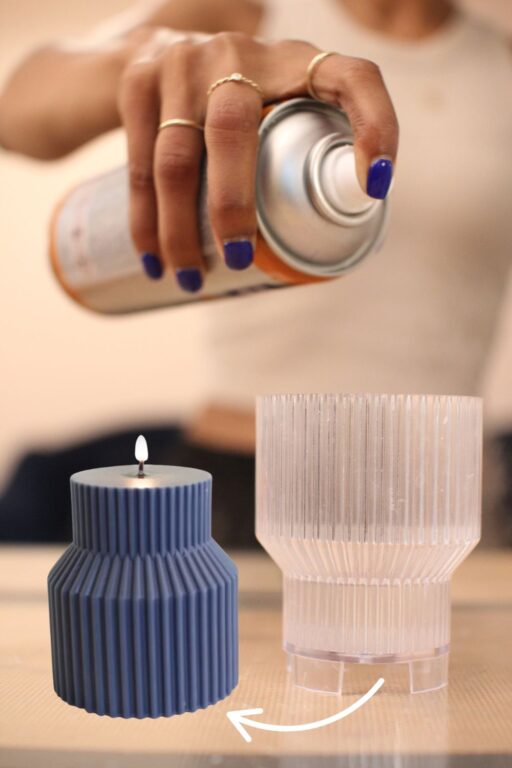
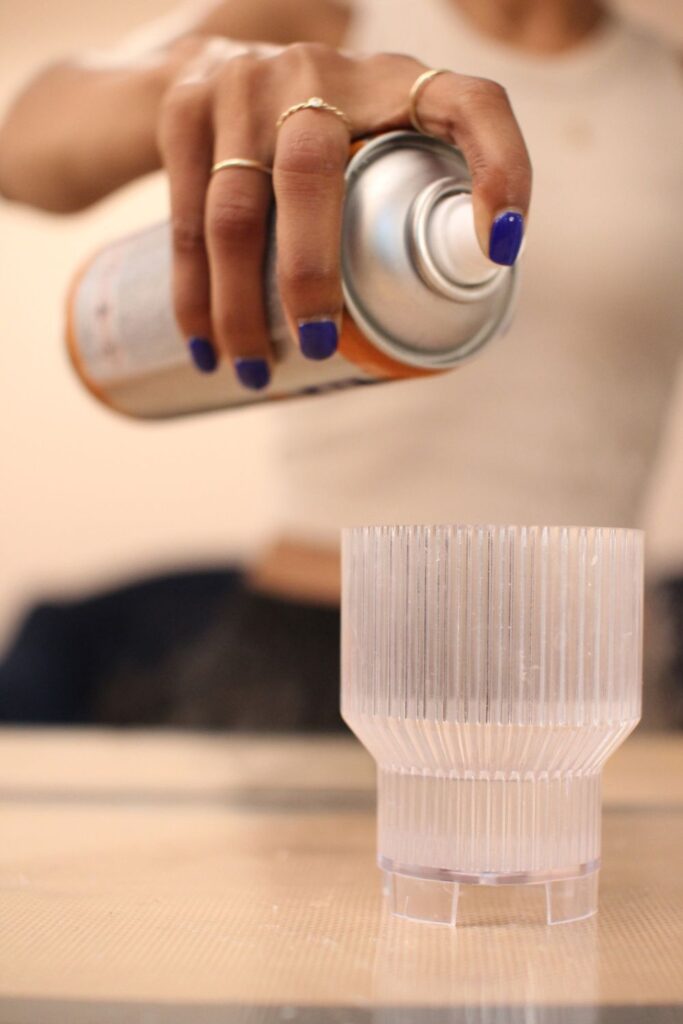
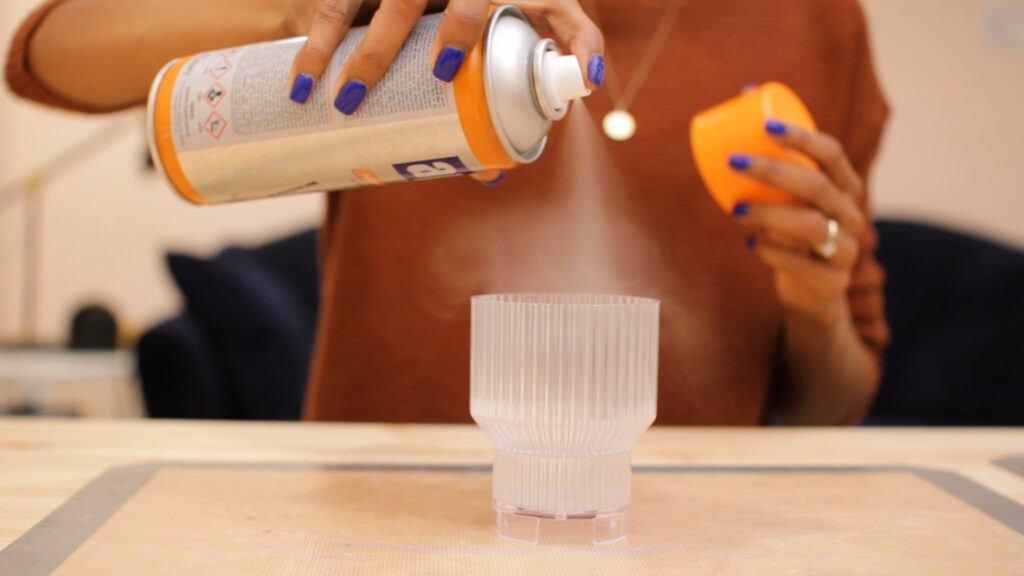
2. Prep the mold with mold release spray before you pour.
This is the easiest thing you can do to prevent candles from getting stuck and if you only take one thing away from this post, let it be this tip.
Just spray the inside of the mold with mold release spray. I spray 1-2 times inside of each opening. A thin coat will do the trick. This will lubricate the inside of the mold and make it so much easier to de-mold the candle. If you do not have mold release spray, you can use a vegetable oil spray like olive oil or coconut oil.
The mold release spray that I like to use is less than $15 and lasts me through several batches of candles. It is one of my candle making must haves.

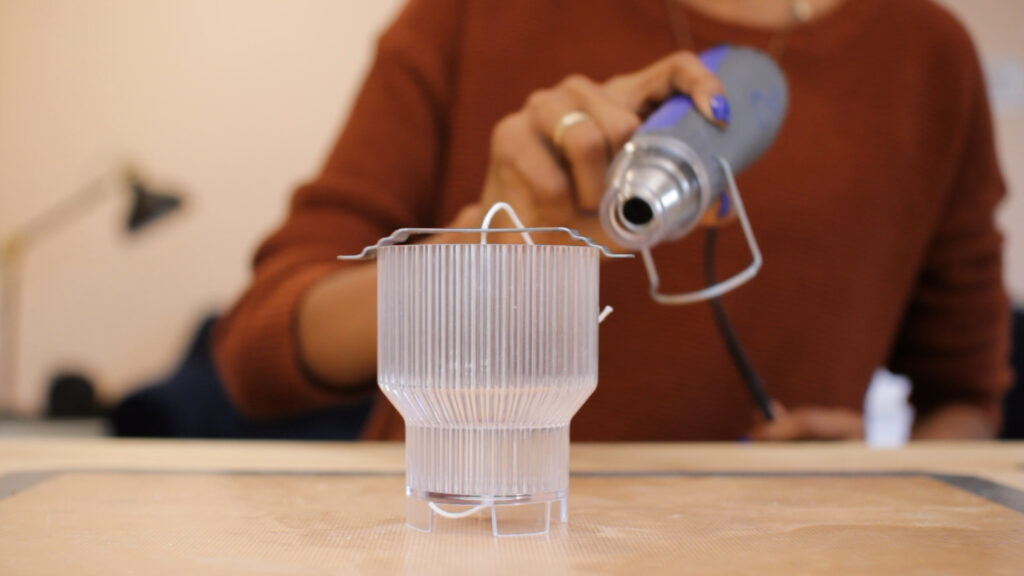
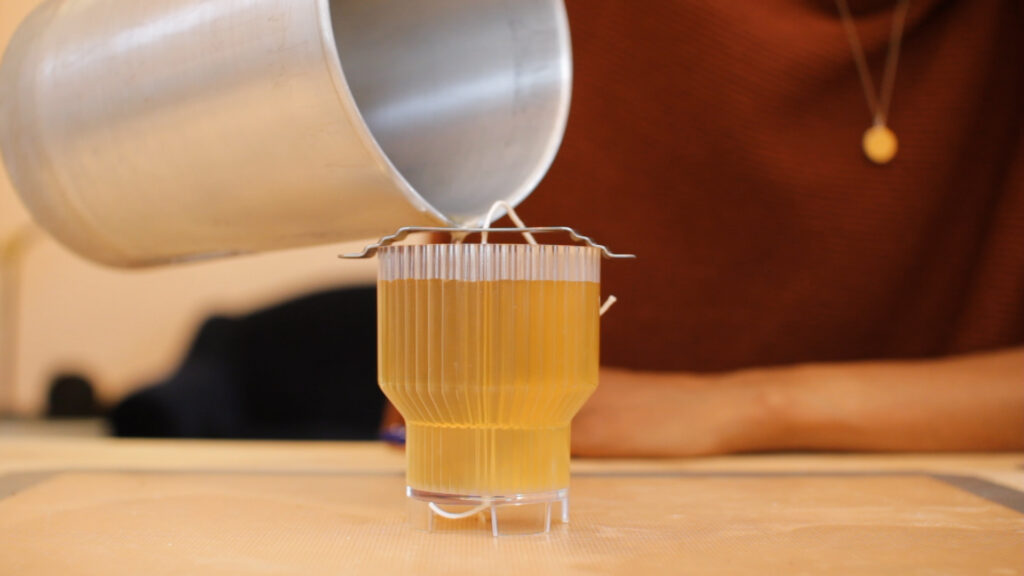
3. Pre-heat the mold before you pour.
Warm up the candle mold before you pour for better results. I give the mold a quick blast with my heat gun while I’m waiting for melted wax to come to the right temperature, but you could also pop it in the oven on low heat.
Not only will pre-heating make it easier to de-mold the candle, but it also helps prevent issues with air bubbles and sinkholes. Wax does better when it cools down gradually. Never pour hot wax into a cool mold or container. I spray first, then I pre-heat, then I pour.
Even though pre-heating is an extra step that might seem unnecessary, it has been a game changer when it comes to the quality of my candles. I can tell the difference between batches where I was too lazy to pre-heat versus ones where I took the time to actually prep well.
Removing Candles from Silicone Molds versus Acrylic Molds
Another thing to consider is the type of mold that you choose. If you’re trying to avoid stuck candles, use silicone molds instead of acrylic or look for molds that can be opened from the side.
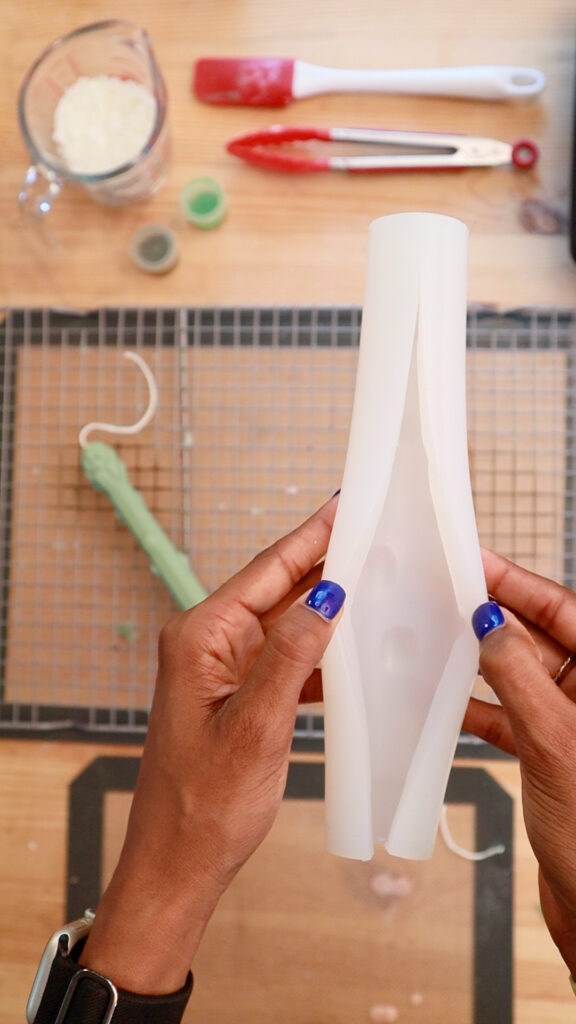
It is easier to remove candles from a silicone candle mold.
Silicone candle molds are flexible and wax is less likely to stick to the sides. All you have to do is flex then peel back the sides of the mold until the candle slips out. This is my recommendation for beginner candle makers. Plus, you do not need to spray silicone molds with mold release spray or pre-heat them. This will cut down on the prep time.


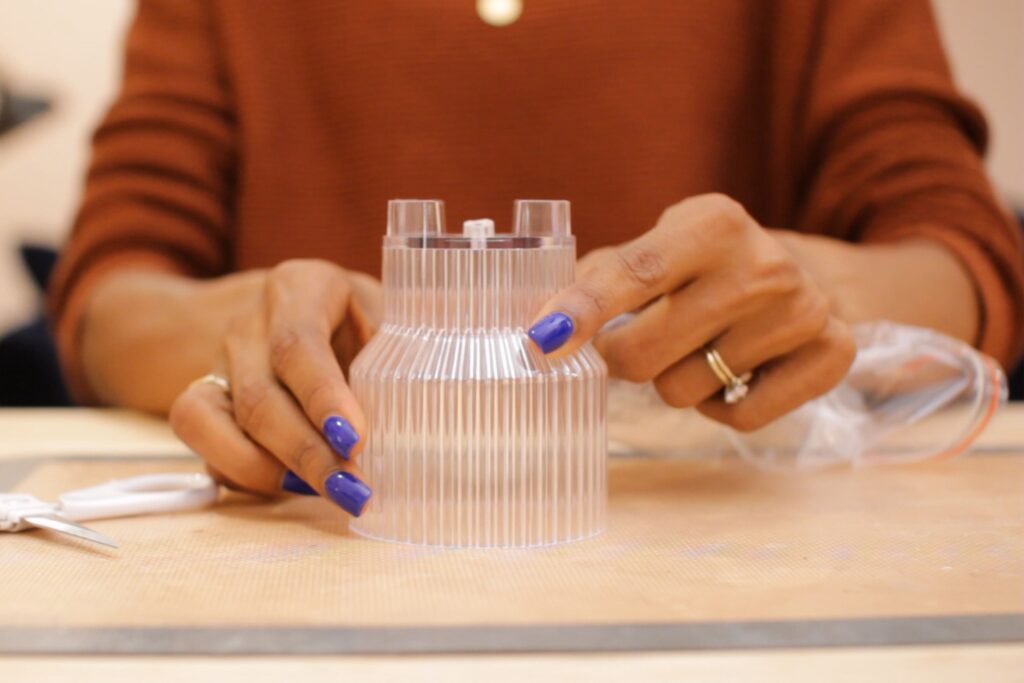
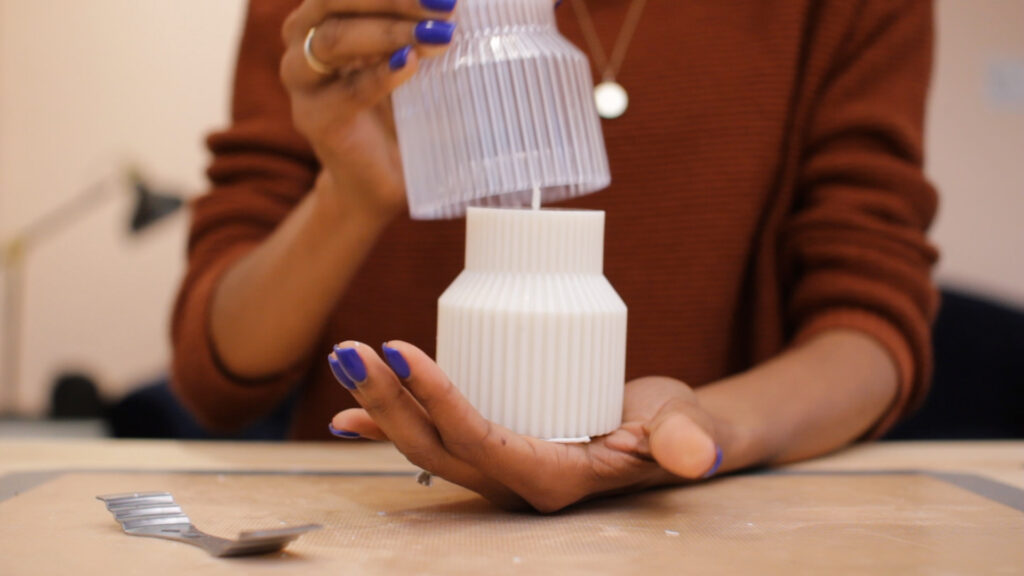
Candles are more likely to get stuck in acrylic molds so don’t skip mold prep!
I prefer to use acrylic molds because they come in a wider variety of shapes and designs than silicone. That said, acrylic is harder to work with. The wax is more likely to stick to the sides and you can’t just peel the edges of the mold away to reveal the candle. Sometimes you have to shake and tap the outside of the mold for awhile before the candle will come free. You should always prep the mold by spraying it AND pre-heating it to avoid stuck candles.
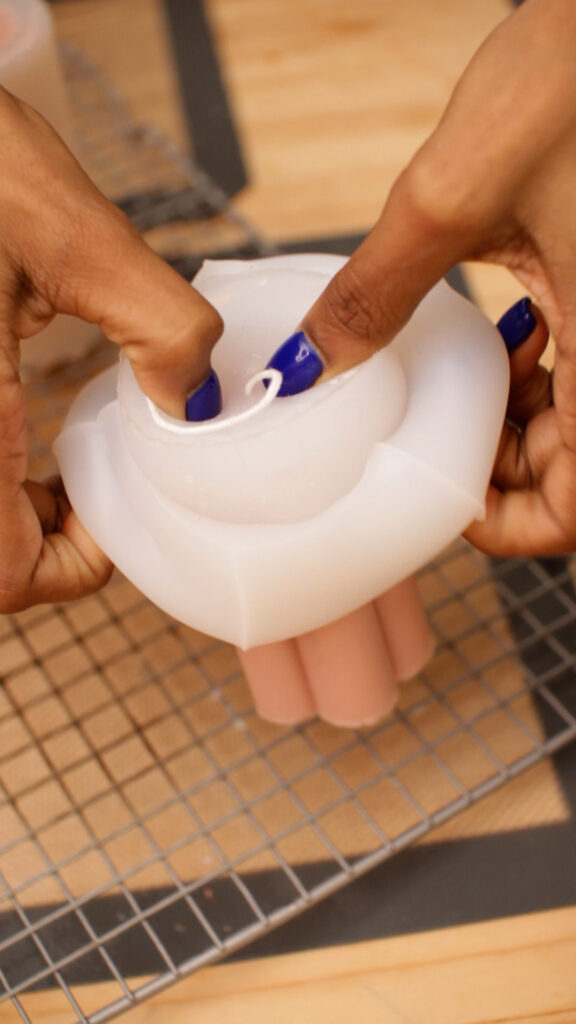
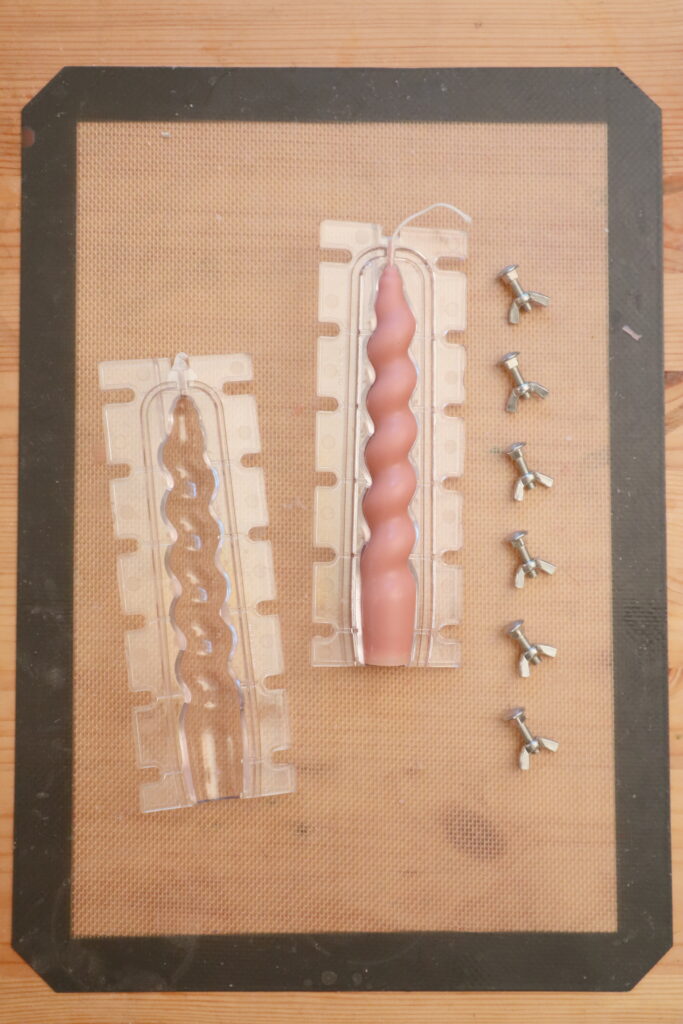
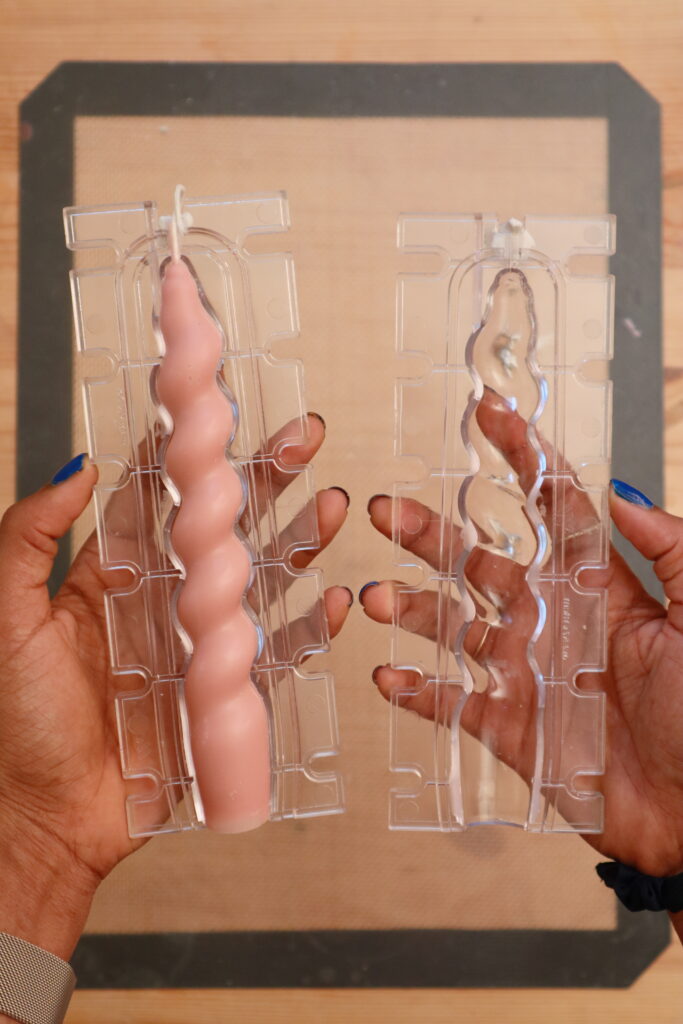
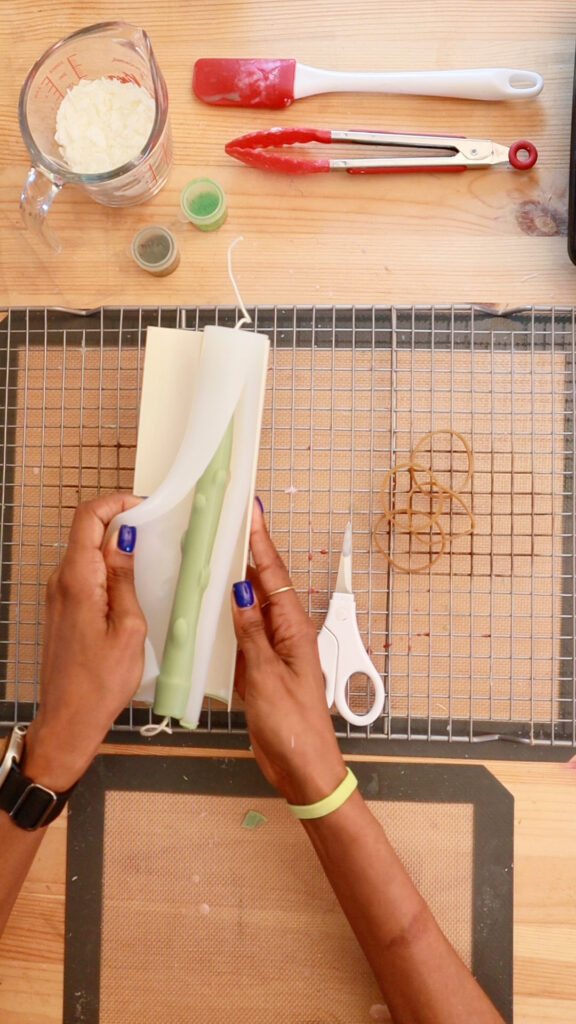
Molds that can be opened from the side are the best option.
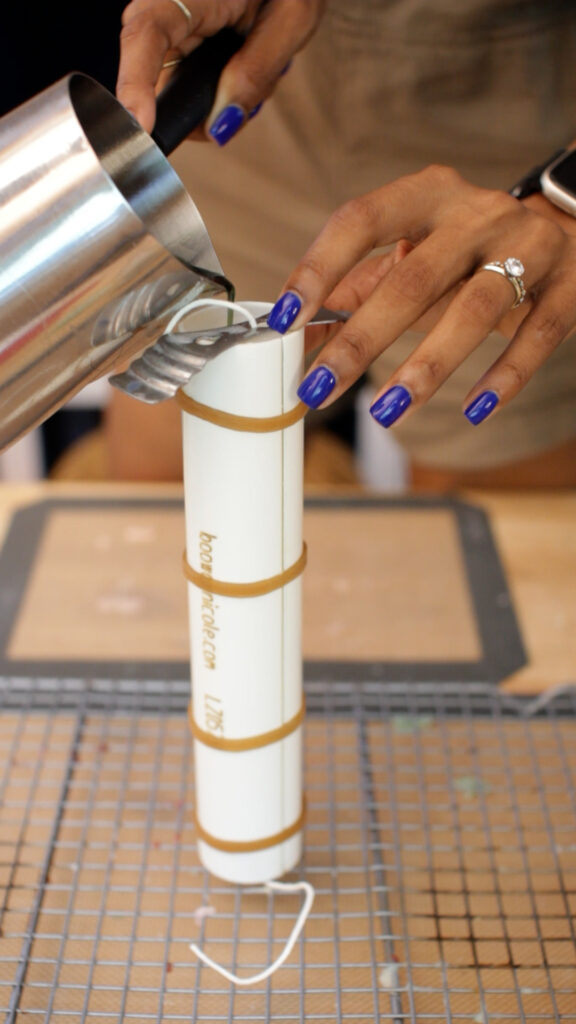
There are some molds that allow you to remove the candle from the side rather than the top or bottom. You have to secure the mold with either rubber bands (for silicone) or screws (for acrylic). To remove the candle, you’re basically just unwrapping the mold. It’s impossible for the candle to get stuck inside. Here’s what that looks like:

How to Remove a Stuck Candle
If your candle has cooled down completely and no amount of shaking will free it from the mold, there are 2 things you can do.
Pop the stuck candle in the freezer.
Put the mold in your freezer for at least half an hour. The cold will cause the wax to contract slightly and it should be easier to remove. This does not work for me 100% of the time so if it doesn’t work for you, try tip #2.
Use a heat gun or a blow dryer.
Heat up the outside of the mold with a heat gun or a blow dryer. Do this on the lowest heat setting. The goal is to soften the wax just enough to free the candle without melting away any of the detail on the candle itself.