Layered candles are tricky because the colors can easily blend together if one layer isn’t poured correctly. To get it right, you have to figure out the perfect pouring temperature. If you pour too hot, the layers will melt together and you won’t get a crisp line between the two. If you pour too cool, your candle won’t set properly. I went through several rounds of experimentation with different temperatures to write this tutorial. I’ve used this process successfully with candle molds and candle jars. If you’re interested in making a layered candle, keep reading. If you want to skip to a quick video I filmed of this process, just click here!

Everything You Need to Make a Layered Candle
I wanted to make taper candles so I used an acrylic mold, but you can also do this in a candle jar. Here’s a list of everything you’ll need:
INGREDIENTS
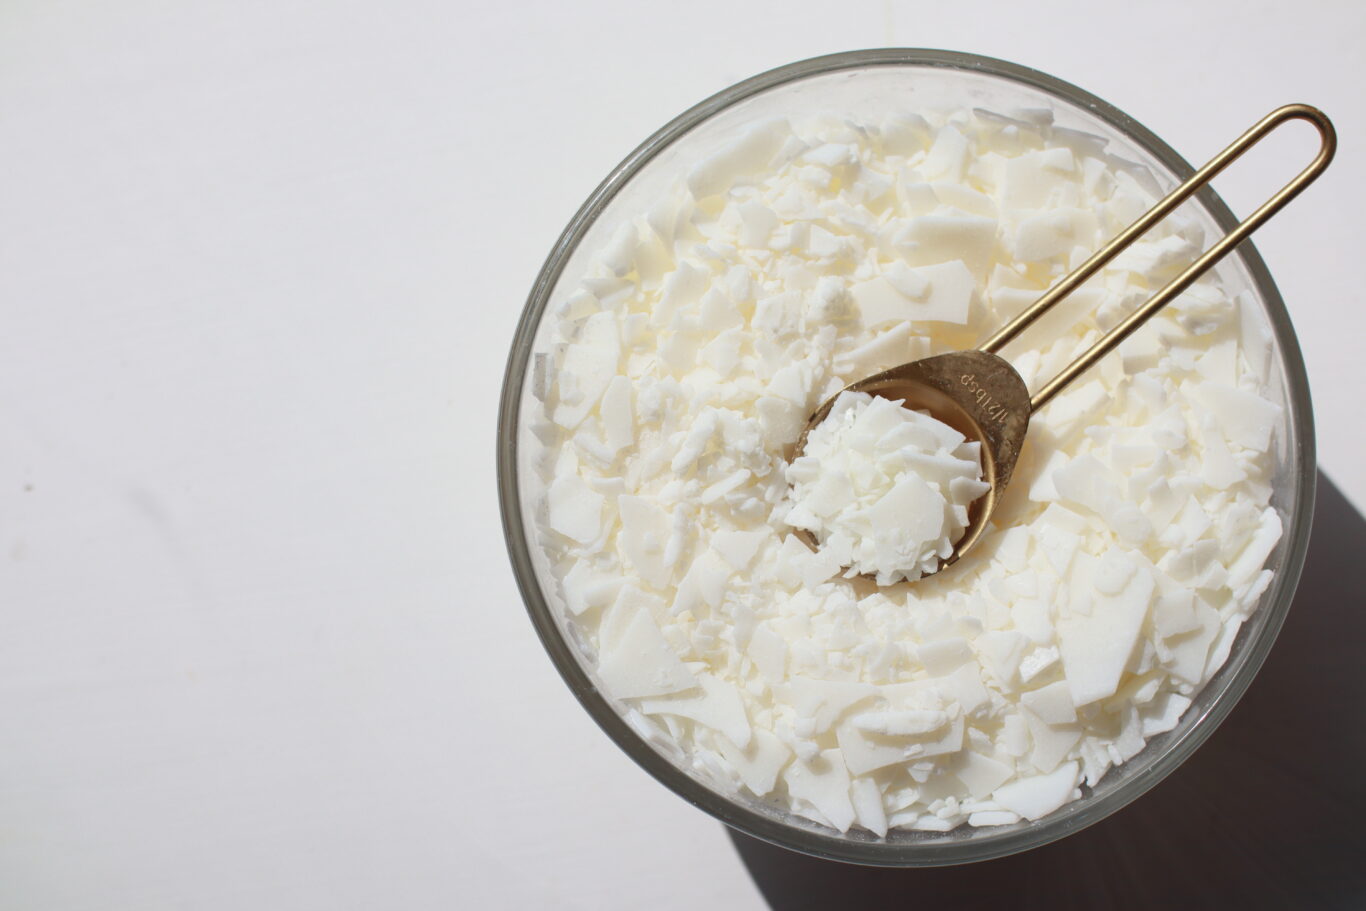
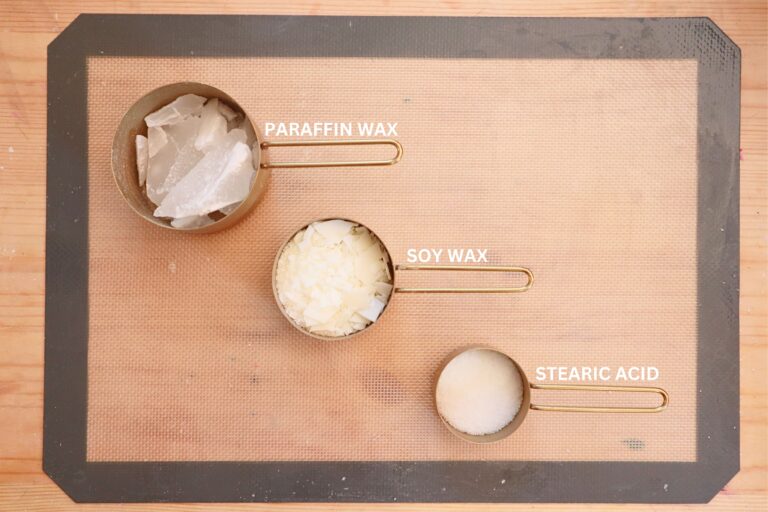
- Candle Wax: This mold needed a little less than 5 ounces of wax. I recommend using paraffin, beeswax, or a pillar wax blend. I created a blend of paraffin and soy wax in a 70/30 ratio (so I used 3.5 ounces of paraffin wax and 1.5 ounces of soy wax).
- Candle Wick: Pick a size appropriate for your candle jar or mold. This mold has a 1 inch diameter so I’m using a size 2/0 cotton wick (because this size is made for candles with up to a 1 inch diameter).
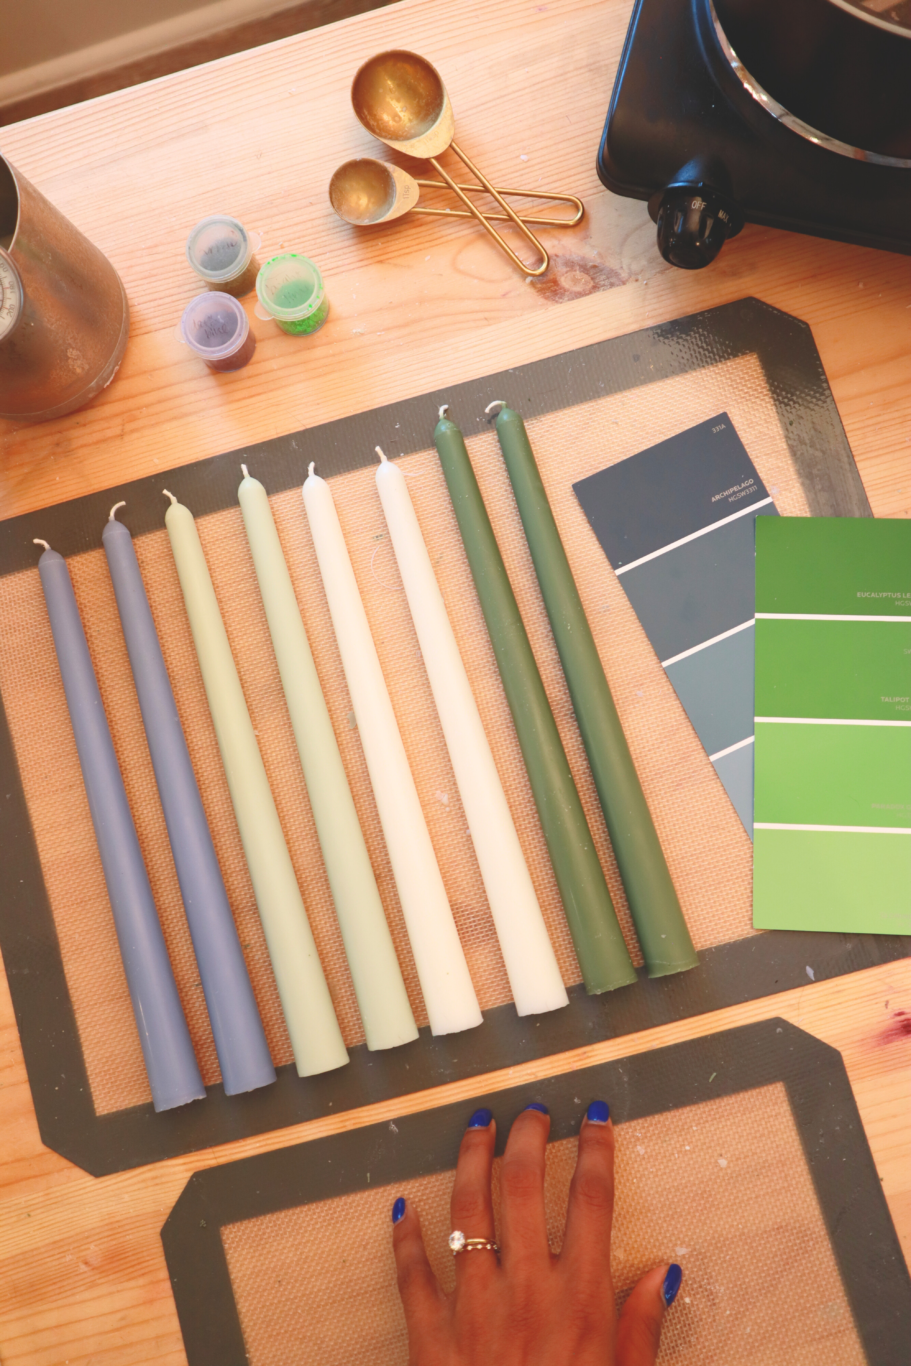
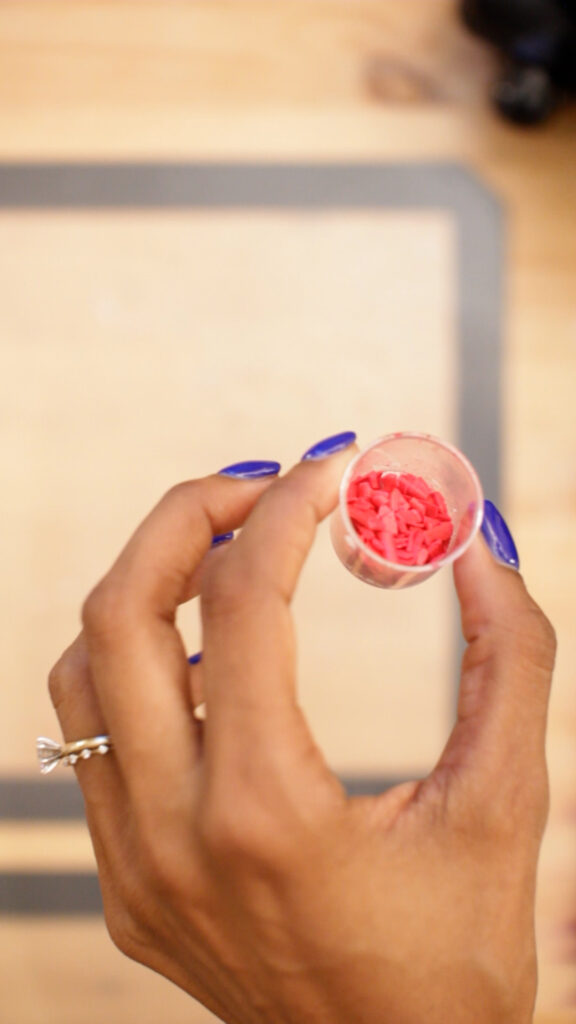
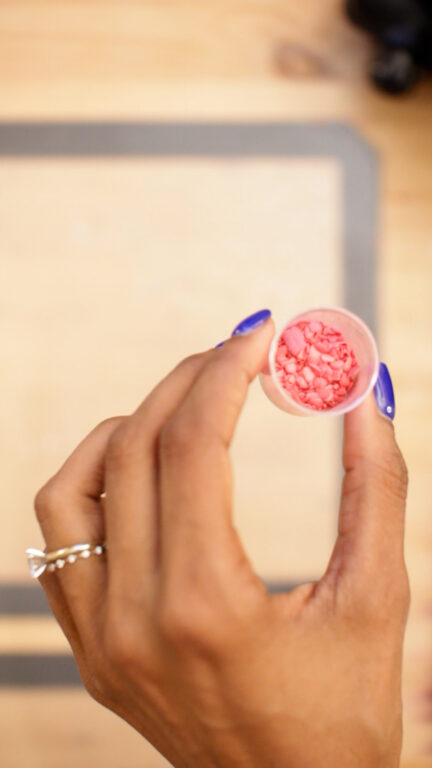
- Dye: I used wax dye chips in 2 different shades to create a hot pink layer and a pastel pink layer. Alternatively, you can use liquid dye.
- Stearic Acid (OPTIONAL): Stearic acid is an additive I use in most of my candles. It helps to make the color more opaque and improves burn time. You do not need this, but if you choose to add it – I add 10% of the candle weight. For this 5 ounce candle, I used 0.5 ounces of stearic acid.
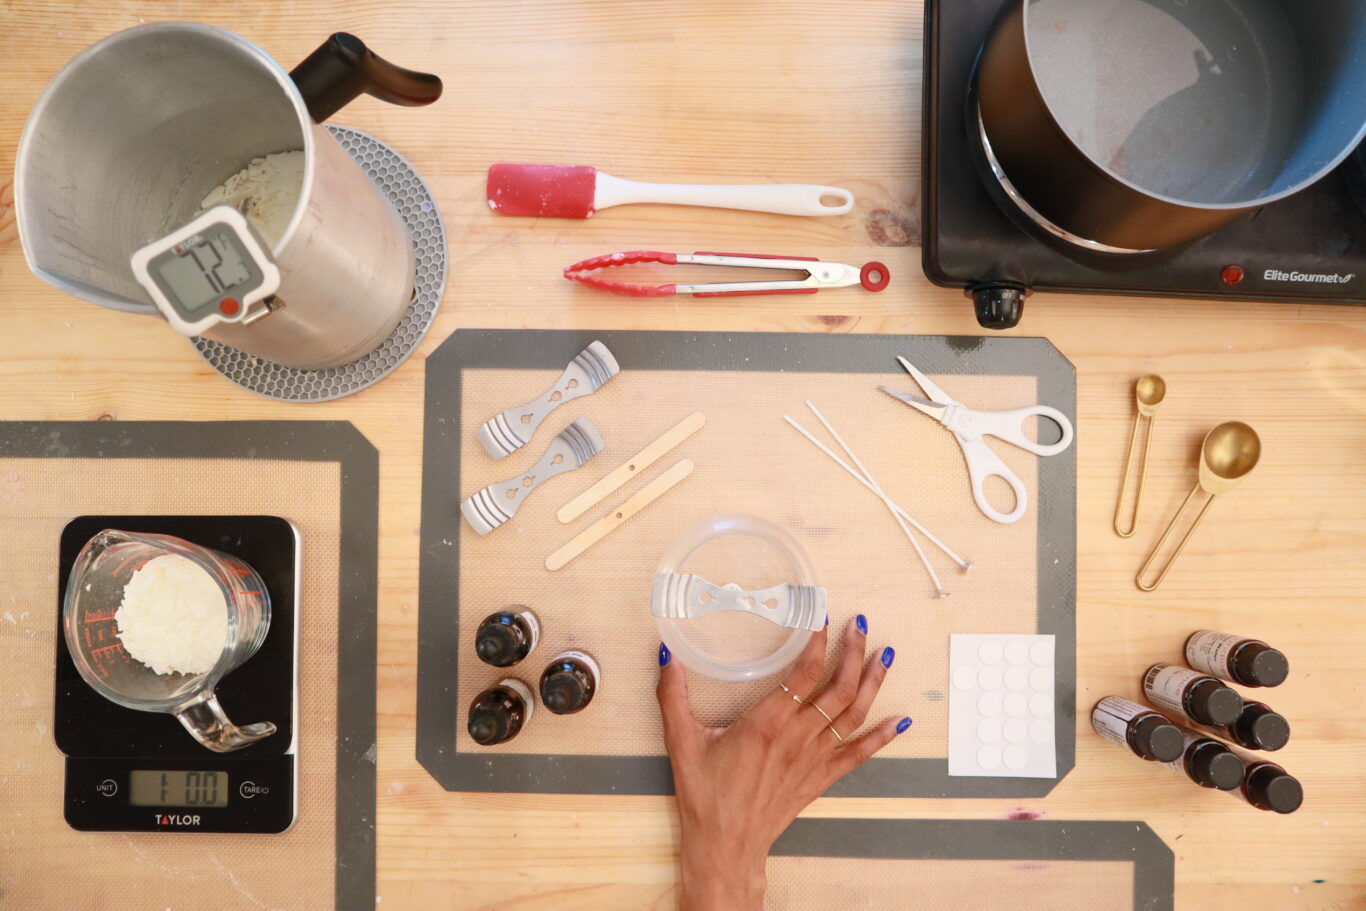
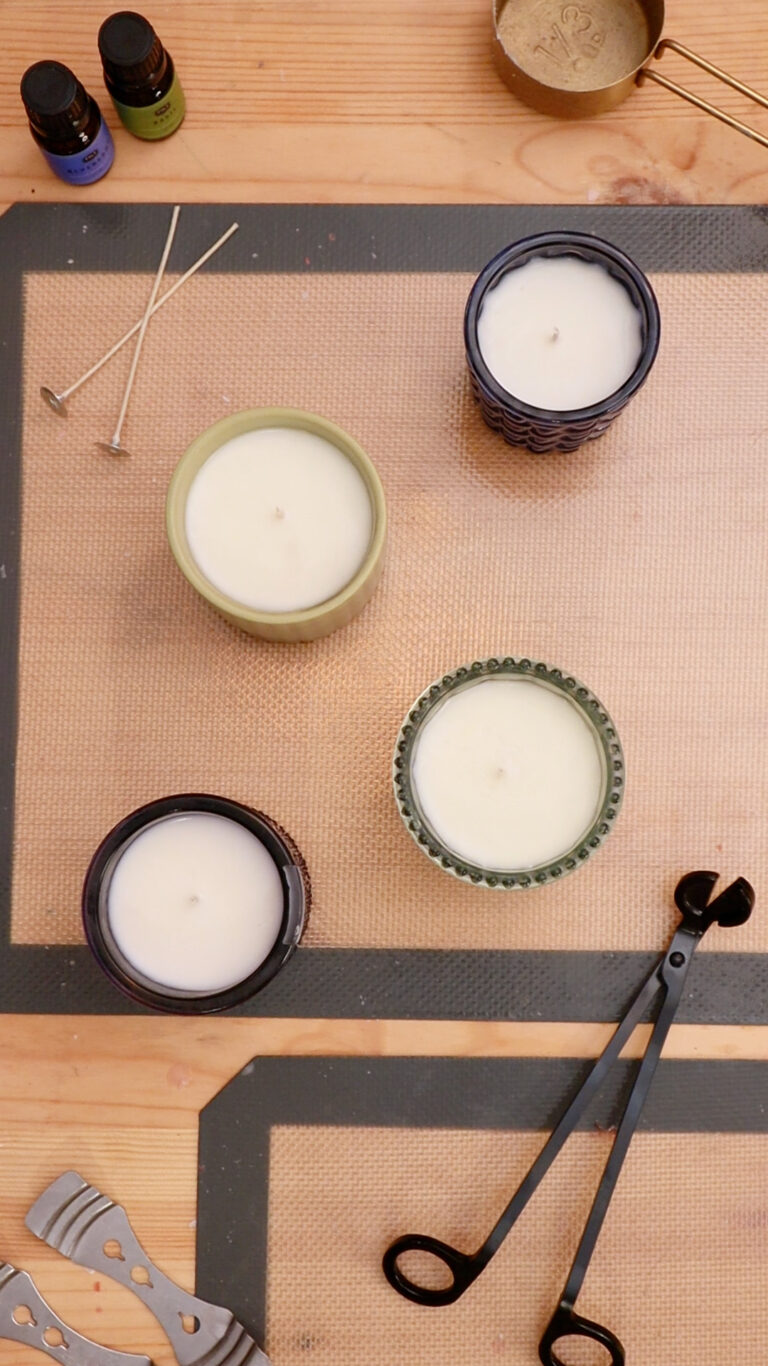
TOOLS
- Candle Mold OR Candle Jar: This is the acrylic candle mold I used. It makes a ribbed taper candle that is 10.5 inches tall and 1 inch in diameter. You can use any mold or candle jar to make a layered candle.
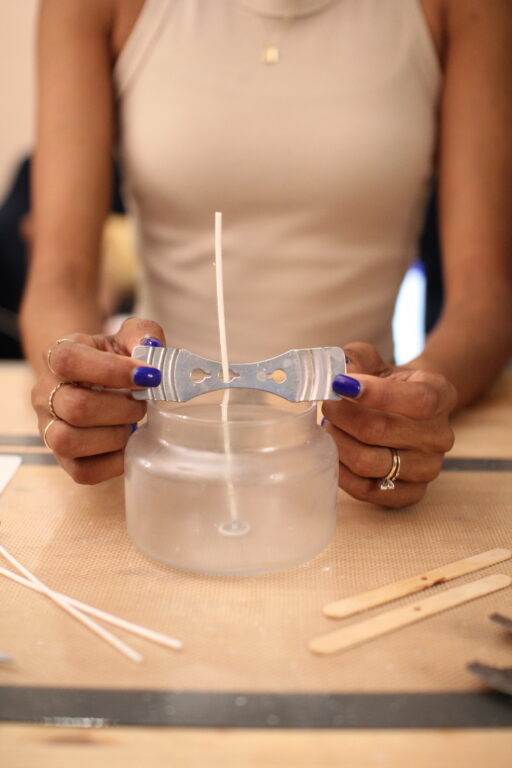
- Wick Bar: You’ll need a metal wick bar or a popsicle stick wick bar to center the wick.
- Putty: If you’re using a mold, you’ll need putty (or sticky tack) to seal the wick hole and prevent melted wax from leaking out. Don’t worry about this if you’re using a candle jar.
- Mold Release Spray: This is ESSENTIAL if you’re using a hard acrylic mold. I spray the inside with mold release spray so that the candle doesn’t get stuck. If you are making a container candle or using a flexible silicone mold, you don’t have to worry about this.
- OTHER STANDARD CANDLEMAKING TOOLS:
- Melting Pitcher: You’ll need a pitcher to pour the melted wax from.
- Thermometer: Temperature is crucial for making layered candles so you’ll want to monitor a thermometer very closely.
- Wax Melter or Burner: Wax melters are great for beginners. I didn’t want to invest in a melter so I use a double boiler on top of this countertop burner. A double boiler is just a heatproof container inside a larger pot that is filled with water.
- Heat Gun: I rave about my heat gun all of the time. It is my favorite candle making tool. You can use it to pre-heat containers before pouring or smooth the tops of candles after pouring.

Step-by-Step Guide to Making a Layered Candle
The key to getting a layered candle right is knowing what temperature to pour the wax. If you are using a parasoy blend like me, these temperatures should work for you. If you are using a different wax blend, you may have to adjust your pouring temperatures slightly, but the concepts below will still apply. Here’s what I did:
PREP YOUR CONTAINER
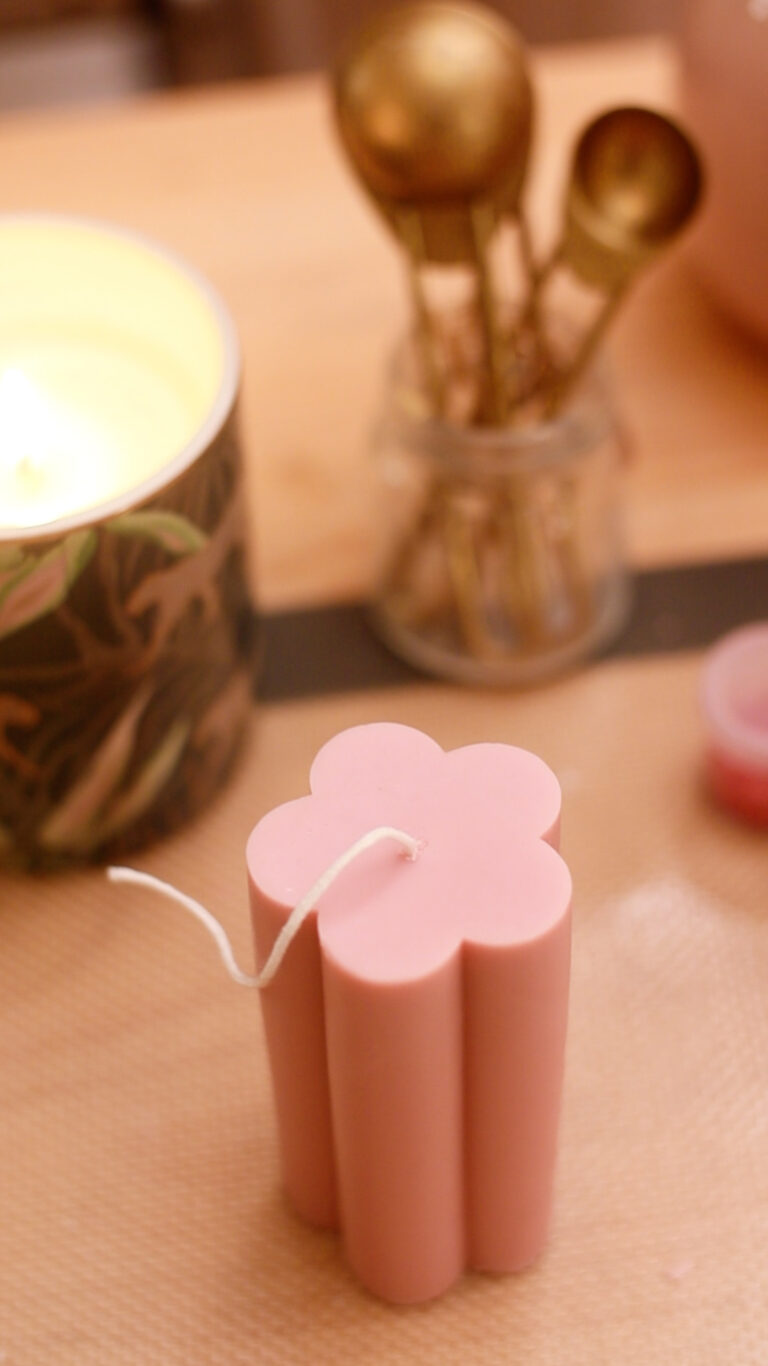
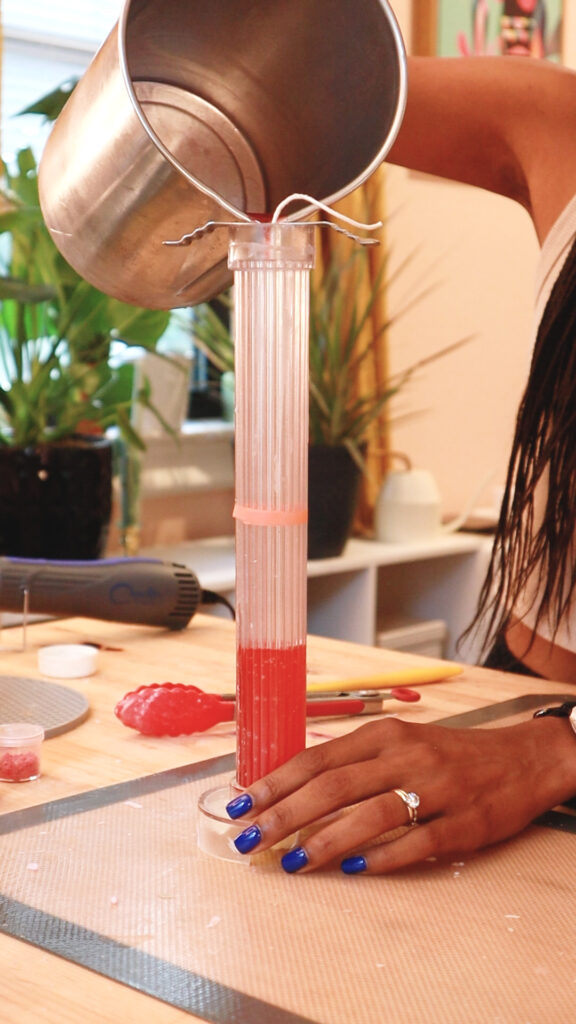
PREP THE CANDLE MOLD: Spray the inside of the mold with mold release spray to prevent the candle from getting stuck later. Wick the candle and seal the hole with some putty to prevent the wax from leaking out. Secure and center the wick with a wick bar.
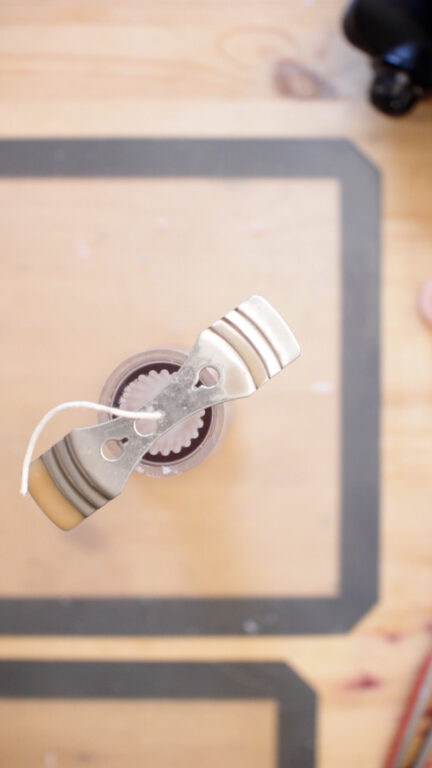
OR PREP THE CANDLE JAR: If you’re using a candle jar, place a wick sticker in the center of the jar and attach the wick. Center the wick with a wick bar.
LAYER ONE
MELT THE WAX: Put half of your preferred wax blend into a wax melter or melting pitcher and heat until the wax reaches its melting point. In my case, I heated my paraffin/soy wax blend until the temperature was between 180-185 degrees Fahrenheit.
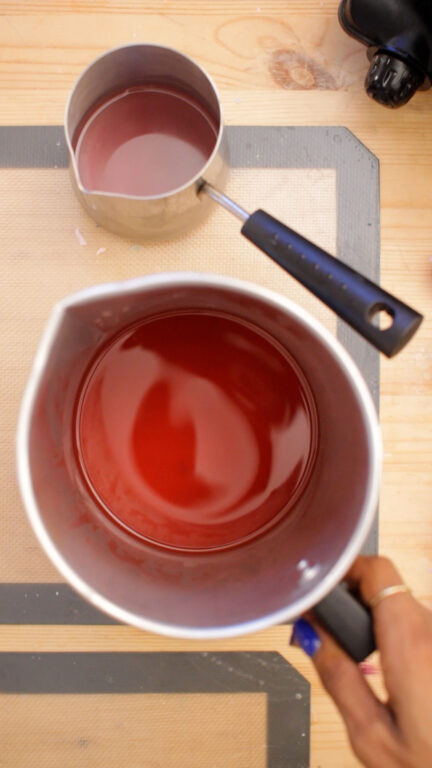
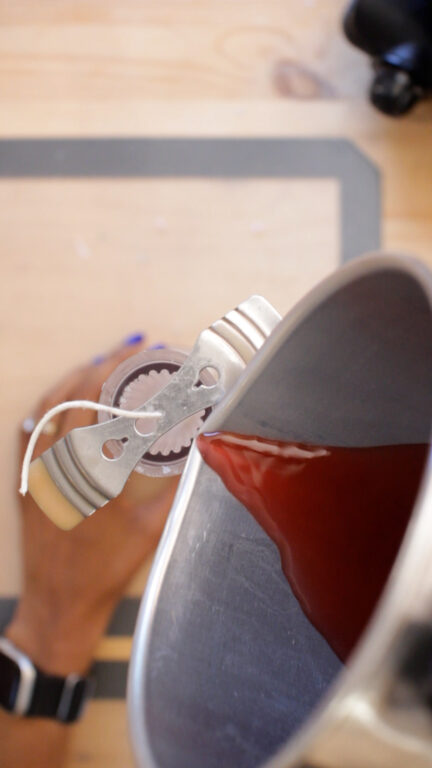
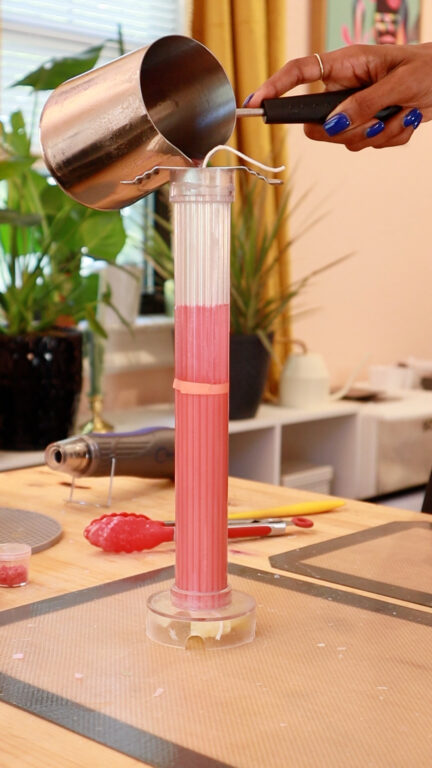
POUR THE FIRST LAYER: After the wax reaches its melting point, add candle dye. Mix thoroughly. Remove the pitcher from the heat and allow to cool to 160 degrees Farenheit. Pour the first layer at 160 degrees Fahrenheit.
LAYER TWO
WAIT: Wait at least one hour before you start on the second layer.
POUR THE SECOND LAYER: Heat the other half of the wax until it reaches its melting point. Add the second shade of candle dye at 180 degrees Fahrenheit and mix thoroughly. Remove the pitcher from the heat and allow to cool to 150 degrees Fahrenheit. Pour the second layer at 150 degrees Fahrenheit. This is 10 degrees cooler than the first layer and pouring at this temperature did not cause the first layer to re-melt.
Let’s say you’re using a different wax type like beeswax and you poured your first layer at 165 – that means you’ll pour your second at 155. The main thing to remember is to have about a 10 degree difference between layers.
If you let the wax cool down too much, the candle will not set properly. Pouring too cool can lead to a candle with white horizontal lines on the surface. These are called jump lines and they ruin the look of the final candle. During my experimentation, when I poured at 145 degrees or cooler, I got jump lines. That’s why I recommend doing the first layer at 160 and the second layer at 150.

ADDITIONAL LAYERS
At this point, you can obviously keep adding more layers. I’ve seen some beautiful rainbow colors with 5 or 6 different layers. The same concepts apply. Just make sure that you’re (1) giving each layer a chance to set before pouring a new one and (2) pouring each new layer at 150 degrees.
FINAL STEPS
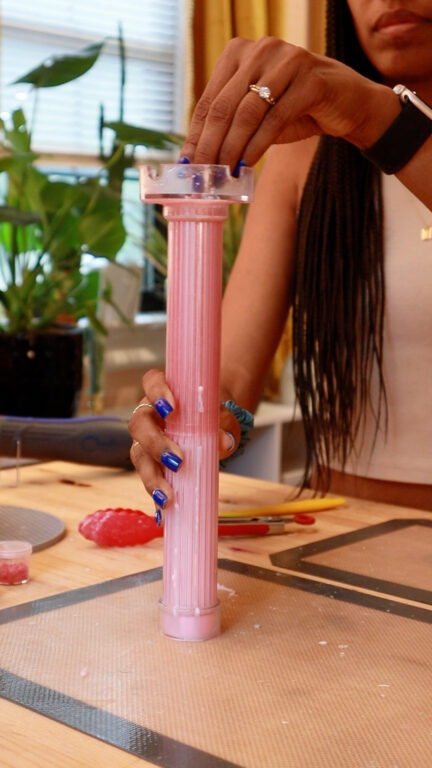
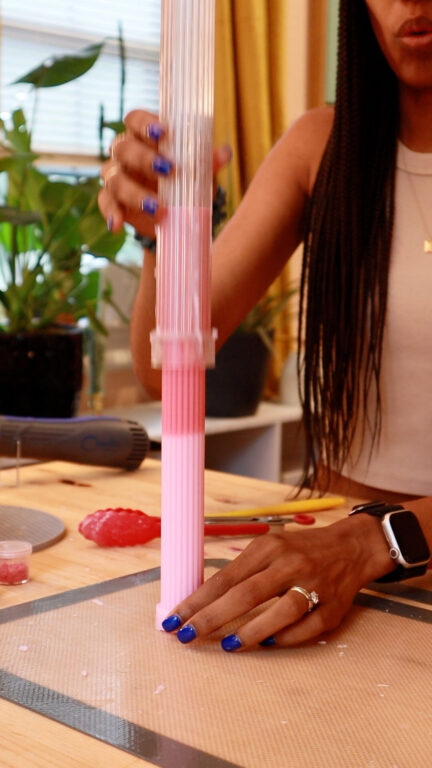
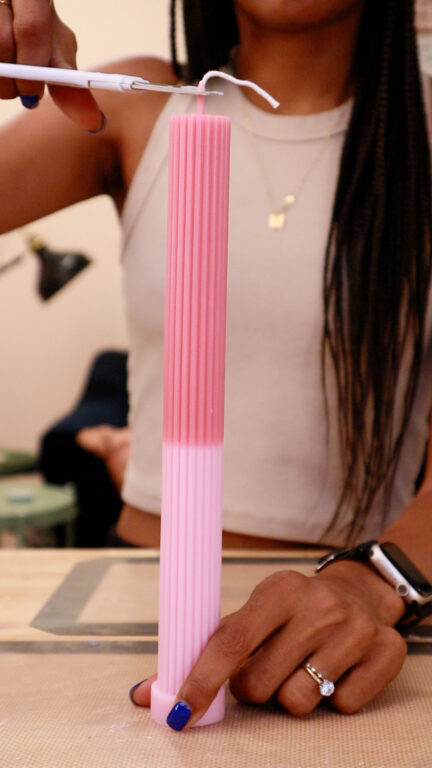
FOR A MOLDED CANDLE: Let the candle cure overnight. Remove the wick bar and the putty, de-mold the candle, trim the wick, and enjoy!
FOR A JAR CANDLE: Let the candle cure overnight. Remove the wick bar, trim the wick, and enjoy!
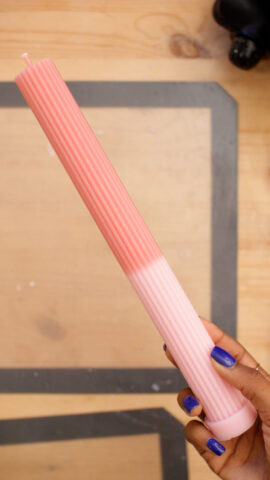
Color Block Candle Video
I’ve made several of these layered candles, but this specific pink taper set was inspired by a crop top. I am obsessed with how it came out! 😍 Here’s a quick video I filmed of that process.